


Hardware components | ||||||
| × | 1 | ||||
| × | 1 | ||||
Hand tools and fabrication machines | ||||||
 |
| |||||
 |
| |||||
 |
| |||||
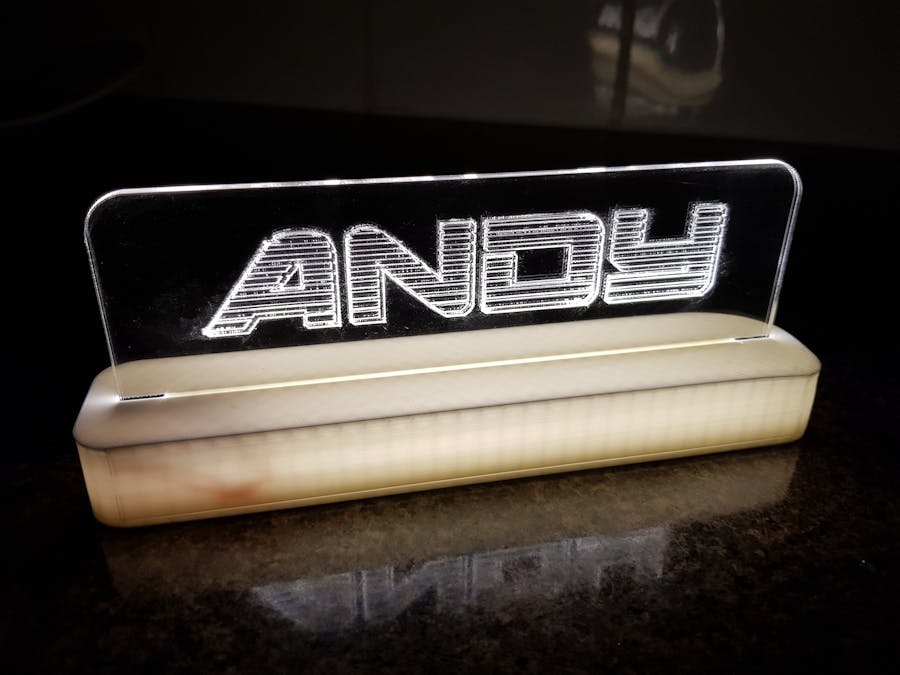
I wanted to create a simple project that would introduce my children and their friends to 3D printing, laser cutting and electronics plus a bit of science and also would end up making something fun that they would like to have. I think this light up sign ticks all those boxes and I'm really happy with the result.
The sign is made from two 3D printed parts and one laser-cut piece of acrylic. The lighting is handled by a strip of LEDs which are powered by an external power supply.
I printed the parts at a fairly low resolution (0.25mm z-axis step) with a brim. The lettering on the laser cut sign is achieved by setting the laser to cut most, but not all, the way through the acrylic. You could also use the engrave setting for a slightly different result. Having made a number of these signs since, I've found that if you are using engrave the best results are achieved by flipping the design horizontally so that you are effectively engraving the back of the acrylic.
Once everything is printed and cut the next thing to do is attach the LEDs to the power supply. I found an old 12V "wall wart" supply that was ideal and cut the connector off the end. I threaded the wire through the hole in the 3D printed case and tied a knot in it. The wire was pretty thick so I soldered on some thinner wire before then soldering them onto the LED strip.
I cut the LED strip to length and then used the self adhesive backing to stick in place in the centre of the bottom piece of the base. If the adhesive on your strip isn't very strong you can also add a few strategic blobs of glue-gun to hold it down.
I then put everything together and tested it.
I'm happy with the result and have since made 4 more with my own kids and some of the their friends. They really enjoyed the projects and made signs that looked much cooler than mine.


Comments
Please log in or sign up to comment.