


Hardware components | ||||||
 |
| × | 1 | |||
 |
| × | 1 | |||
With a few pieces of hardware, these instructions, and Twilio Programmable Wireless you can disconnect your devices from their wired perches and deploy them into the field where they'll be more useful.
In this quickstart, we'll use a DragonBoard 410c running the Linaro Debian operating system with a Huawei E397 (Cricket) USB Modem using some packaged scripts and finish with a DragonBoard 410c on the internet using cellular connectivity. This particular quickstart will leave you with a headless DragonBoard 410c that is specifically meant for the Hardware Lab at Major League Hacking events.
In this Quickstart, you'll learn how to:
- Sign up for Twilio and purchase your first SIM cards for Twilio Programmable Wireless
- Burn the Linaro Debian operating system to an SD and configure the DragonBoard 410c
- Download and install Twilio ppp connection scripts via WiFi or Ethernet connection
- Automatically connect via cellular at boot
Huawei Model E397u-53 (Cricket) USB Modem
- OR USB Modem supporting these bands in your country
Minimum 4GB MicroSD Card(OR SD Card depending on Raspberry Pi Model. See product documentation.)
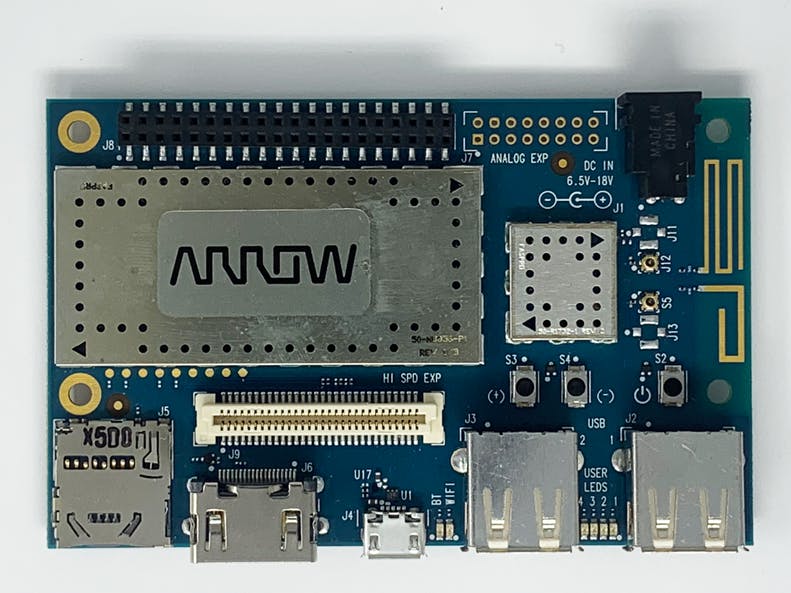
- DragonBoard 410c
- Twilio SIM Card
- HDMI cable
- HDMI screen
- Keyboard
- Power supply
Not the quickstart you were looking to complete? See our other Programmable Wireless quickstarts or see all Wireless resources.
Sign up for Twilio and purchase SIM cardsAlready have a Twilio account and SIM card? Go ahead and skip ahead to the next step to register and activate it.
Before you can connect with Twilio Programmable Wireless, sign up for a Twilio account.
Next, visit the Programmable Wireless Console. On the Orders page, you can purchase a set of 3 starter SIMs or make a larger custom order.
Note: Orders of 10 SIMs or more will be delivered with the SIM cards already registered to your account.
Register Your SIM, assign a rate plan, and activateOnce you receive your shipment of SIMs, choose one of the cards and remove it from any packaging. Once removed, head over to the Register a SIM page in the Wireless Console.
Follow that up by next picking a distinct Unique Name for this SIM.
Choose a rate planNext, select a rate plan from the options provided.
By default, Twilio has entered rate plans which are close to what are used in the field. Although beyond the scope of this quickstart, Rate Plans let you control every aspect of what your device can do in the field... and how much data it can use.
Activate the SIM cardWhen you're happy with the naming and rate plan, 'Activate' the SIM card.
Note: While you can use small amounts of data to evaluate Twilio before the SIM is active, you'll need to activate it for real-world workflows.
Setting up the modem with the Twilio SIMTake out the USB-modem and the Twilio SIM card.
Break out the largest form of the Twilio SIM from the card.
Insert the Twilio SIM into the USB-Modem.
The modem is ready to connect to the internet. Let's setup the operating system.
Flash Linario Debian to your SD CardSince our goal with this setup is a headless DragonBoard 410c, we want to start with the lightweight version of the Linaro Debian operating system before we make our changes. We provide a distrubution that has all of the necessary scripts for cellular connectivity ready to be installed.
- Download Linario Debian Linux distrubution from 96boards named "dragonboard-410c-sdcard-developer-buster"
- Burn an SD card using Etcher
- Skip ahead to the next step
Note: This image will not always be up to date with the most recent Linario Debian release - be sure to update the image if you choose to install it. Always check the Linaro Debian download page on 96Boards for the latest image.
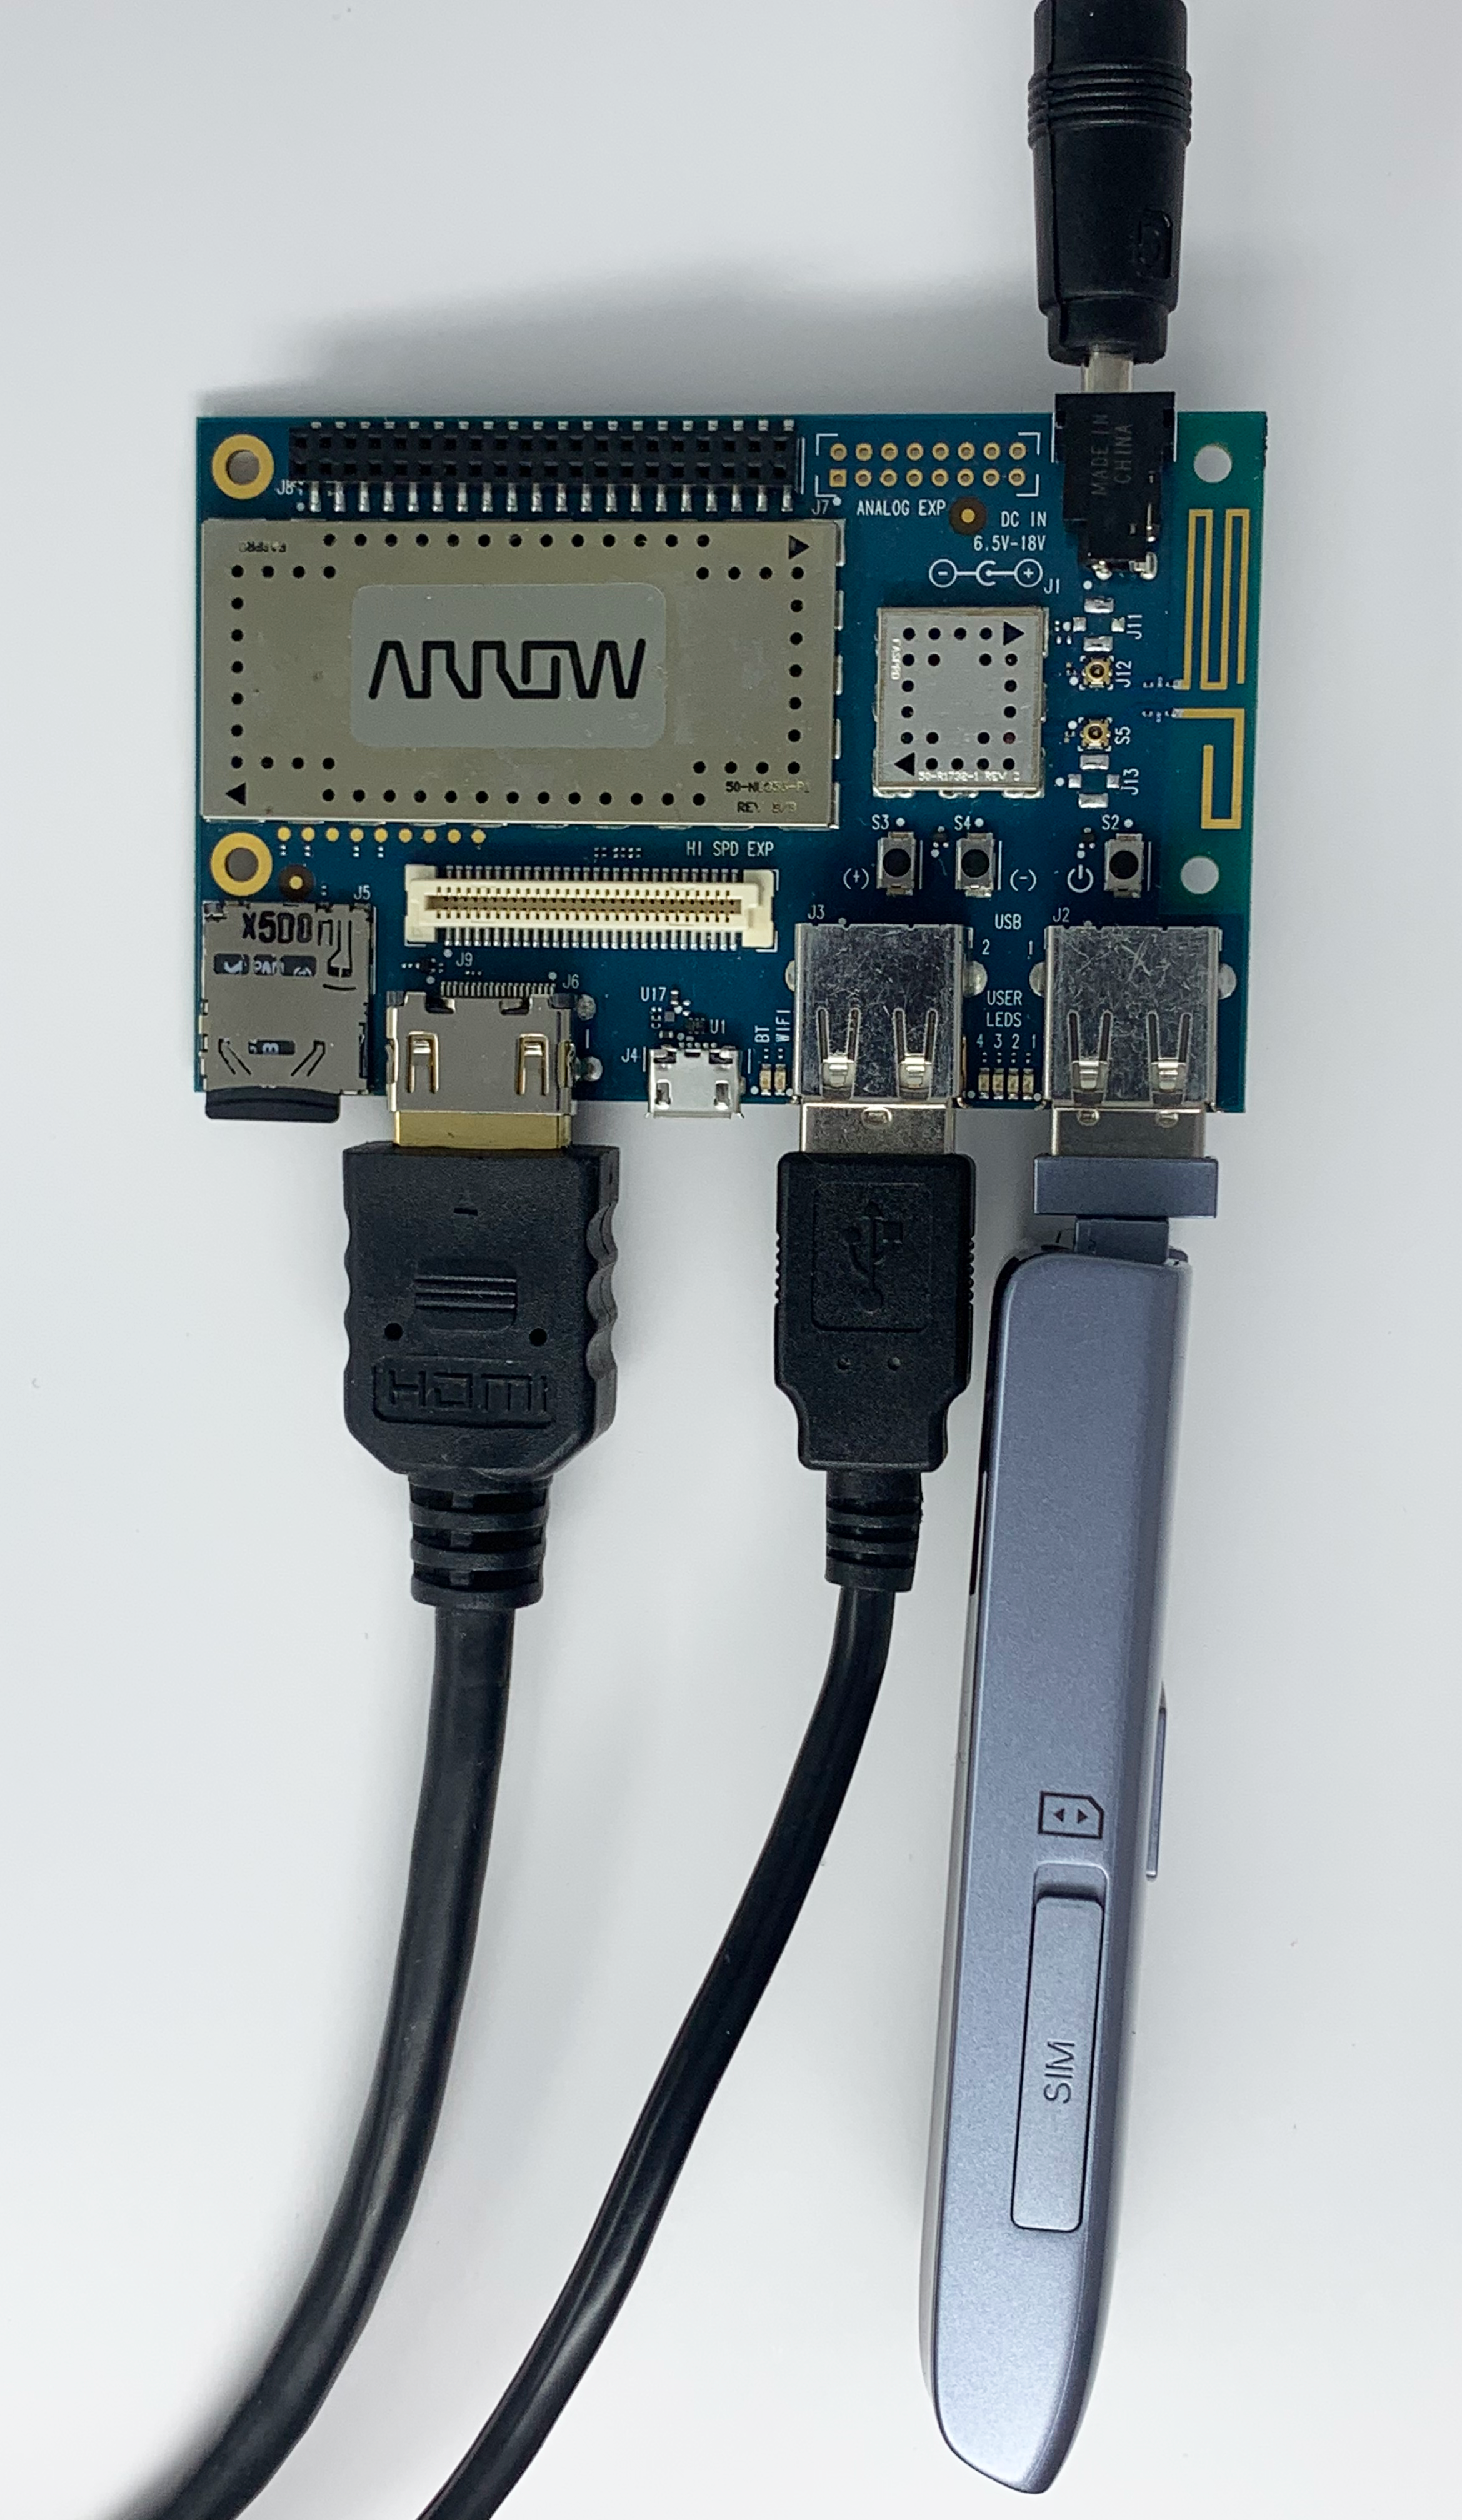
Readying the DragonBoard 410c for developmentInsert the SD cardAfter flashing the SD card with the Linario Debian operating system insert the SD card into the DragonBoard 410c.
Connect the HDMI to the board and plug the opposite end into the HDMI montior supplied by the Major League Hacking hardware lab.
Add connectivity to the board by plugging in ther USB-modem to one of the available USB slots.
The command line is the primary way we will interact with the operating system so a keyboard is sufficient. Insert the keyboard's USB cable into the next available USB slot on the DragonBoard 410c.
Now that all the necessary parts have been connected to the DragonBoard 410c, connect the power supply. The operating system will boot up automatically after a few seconds.
Once everything is properly connected the setup should look something like this:
When the power supply is connected to the board it should automatically turn on. If there are no LEDs active press the Power button to turn the board on.
Connect to the DragonBoard 410cLogging into the deviceIn a few seconds LEDs will start to blink. It will take a few moments for the operating system to boot up. Once the board has successfully started we will be presented with a login screen and a command line interface. Log into the board using the same username and password linaro.
Setting up the WiFIAfter logging in we will setup a WiFi connection. On the command line execute the following command.
nmtui
This will open an interactive GUI for configuring the WiFi on the DragonBoard 410c.
Click Activate a connection.
Select the WiFi connection
Add the password for the Wifi connection.
Click Ok and exit.
Check that the connection the WiFi connection to see if it has a valid IP address. This can be done using the command line using the command sudoifconfig.
We are connected to internet using the DragonBoard 410c's onboard WiFi.
Install Twilio connection scripts and connectAfter connecting to the internet we should update the operating system.
# Optional
sudo apt-get update
Next install the ppp usb-modeswitch so we can connect with the USB-modem.
# Mandatory
sudo apt-get install ppp usb-modeswitch
We have a number of connectivity scripts at this repository to facilitate getting you online using ppp. In a directory you control, run the following:
wget https://github.com/twilio/wireless-ppp-scripts/archive/master.zip
unzip master.zip
rm master.zip
cd wireless-ppp-scripts-master
sudo cp chatscripts/twilio /etc/chatscripts
sudo cp peers/twilio /etc/ppp/peers
And... actually, that's it! Bring down your current temporary internet connection with one of the following commands if you were connected to the web using WiFi or an Ethernet connection. (If it doesn't work, you can use the ifconfig command on the DragonBoard 410c to see the name of your connection).
For WiFi:
sudo ifconfig wlan0 down
For Ethernet:
sudo ifconfig eth0 down
Finally, you can connect to Twilio Programmable Wireless! Run the ppp script to connect the USB Modem:
sudo pon twilio
Ready for the magic? Verify you have a connection by pinging – what else? – Twilio's API:
ping -I ppp0 -c 3 www.twilio.com
And there you have it - cellular connectivity!
Now that it works, let's set up the DragonBoard 410c to connect to Twilio at startup.
If you have issues connecting, first check your modem is not in mass storage mode. If it is correct, try to get a clear view of the sky or move to an area of better connectivity.
If you still have issues, feel free to talk to support.
Set up the DragonBoard 410c to connect to Twilio at startupWhenever the DragonBoard 410c power cycles, we want it to automatically connect using Twilio. However, if the USB modem isn't inserted, that's a waste of time - we won't be able to make the connection.
Open up the file /etc/rc.local in your favorite text editor: sudo nano /etc/rc.local
At the end of the file but before the 'exit' line, add the following:
gsm_loaded=`dmesg | grep -i "gsm"`
if [ -n "$gsm_loaded" ]; then
     /usr/bin/tvservice -o
     pon twilio
fi
Now, when you start the DragonBoard 410c it will watch for the USB modem's connection. If it sees the 'GSM' string, it will automatically disable the displays and connect to Twilio with ppp.
Feel free to restart now with sudo shutdown -r 0, then immediately ping Twilio again with ping -c 3 www.twilio.com
Now that you have a headless DragonBoard 410c connected to Twilio, we can't wait to see what you do with it. Here are some possible places to go next:
- See end-to-end applications with Twilio Wireless Blueprints
- Manage your fleet of devices with the Programmable Wireless API
- Try Programmable Wireless Machine to Machine SMS Commands
We all do sometimes; code is hard. Get help now from our support team, or lean on the wisdom of the crowd browsing the Twilio tag on Stack Overflow.


Comments
Please log in or sign up to comment.