//CURIE PROJECTS
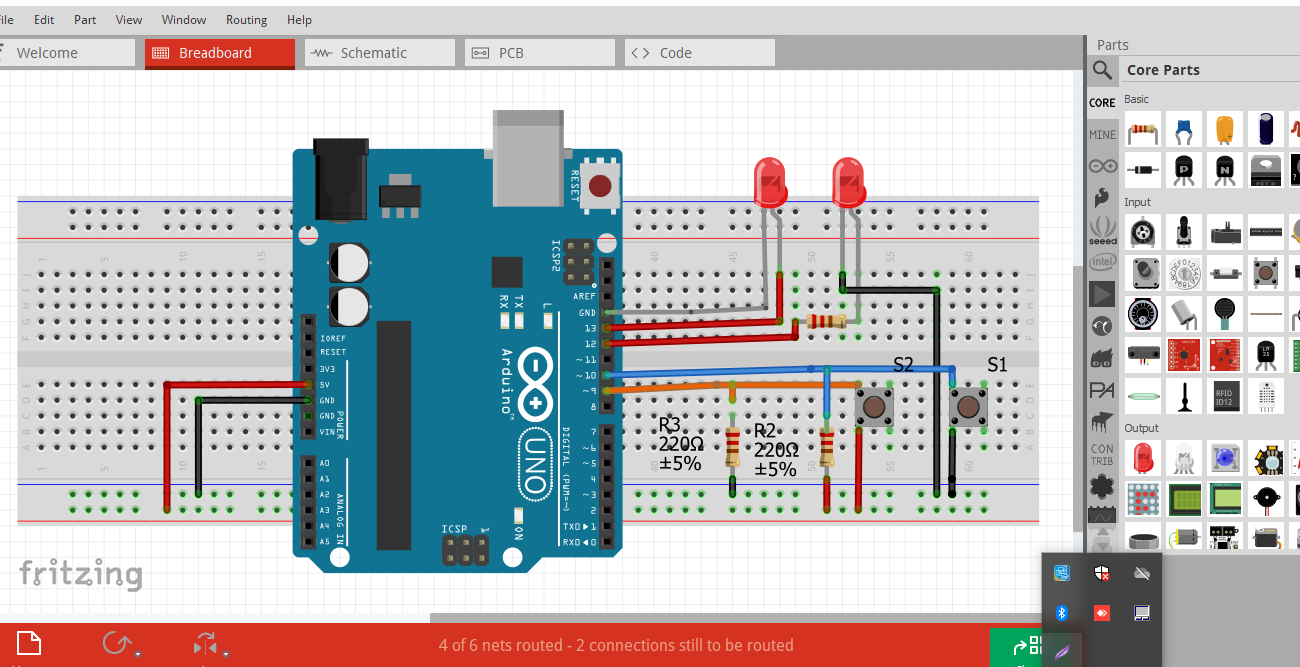
const int ledPin1 = 13; // choose the pin for the LED1
const int ledPin2=12; // choose the pin for the LED1
const int inputPin1 = 9; // choose the input pin input1
const int inputPin2=10; // choose the input pin input2
int SW1State ; // Pullup resistor connected to GPIO 9
int SW2State; // Pulldown resistor connected to GPIO 9
int value1 = HIGH; // variable for reading the pin status
int value2=LOW;
void setup()
{
pinMode(ledPin1, OUTPUT); // declare LED1 as output
pinMode(ledPin2, OUTPUT); // declare LED2 as output
pinMode(inputPin1, INPUT); // declare switch1 as input
pinMode(inputPin2, INPUT); // declare switch2 as input
}
void loop()
{
value1 = digitalRead(inputPin1); // read input1 value
value2 = digitalRead(inputPin2); // read input2 value
if (value1== HIGH)
SW1State = HIGH;
if (value1 == LOW)
SW1State = LOW;
if (value2== HIGH)
SW2State = HIGH;
if (value2 == LOW)
SW2State = LOW;
if(SW1State==HIGH)
{
digitalWrite(ledPin1,HIGH);
}
else
{
digitalWrite(ledPin1,LOW);
}
if(SW2State==HIGH)
{
digitalWrite(ledPin2,HIGH);
}
else
{
digitalWrite(ledPin2,LOW);
}
}


_ztBMuBhMHo.jpg?auto=compress%2Cformat&w=48&h=48&fit=fill&bg=ffffff)


Comments
Please log in or sign up to comment.