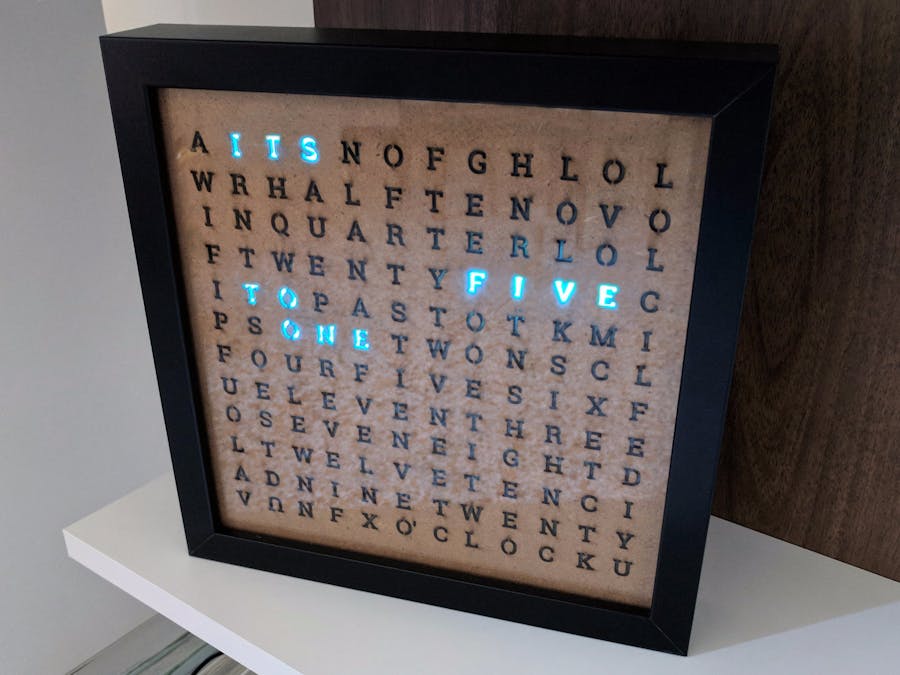
What about a clock that speaks the user own language? Here it is!
The core concept of this clock is that during the day, only the letters needed to create the current time in words will be on, while the others will be off.
This project is a perfect example of Smart Home device, providing smooth integration with the Google Assistant which allows a natural interaction using voice commands, all in a final package that it is nice looking and can be place in any living room.
Build Your OwnThe first thing to do is to create a layout with all the letters and have it laser-cut of the right size to fit inside the picture frame and with every letter at the same distance between each others as the LEDs in the strip are.
In the project repository I placed the vector files for both the English and Italian version of the clock, with more languages to come:
Speaking about the LEDs, the project will both work with WS2801 and WS2812B strips. The only difference is that WS2801 LEDs will work directly with a Raspberry Pi (or other Android Things compatible board), while WS2812B LEDs will require a separate unit to control them (I used an Arduino Nano connected to the Android Things board via USB serial connection). The source code for the Android Things app in the repo will provide two variant, one for each LED format and the relative schematics.
We need to cut and re-assemble the LEDs strip so that it will form some sort of zig-zag pattern. That will be placed behind the letters layout, each LED responsible of lighting one single letter.
We need to be sure that the light from one LED will be directed towards a single letter, and not spread to adjacent ones. I solved this problem by drilling some holes in a piece of wood, one for each letter, wide enough to include the whole letter.
The LEDs are then placed inside the holes and attached using some tape.
We can now put the layout into the picture frame, so that the letters are correctly readable from the front of the frame and after that place the piece of wood with the connected LEDs.
Now we can connect the LEDs to the Android Things board, depending on the format of the LEDs we choose:
Before building the app with Android Studio, we need to select the right version of the app from the Build Variants menu of Android Studio:
Here we have one version for each combination of layout language and LED format.
We build the app and run it on the Android Things board, after setting the right parameter for the WiFi network. Given an active Interned connection, Android will automatically set the current time and it will start displaying it turning on the right letters forming the time sentence.
In case of missing Internet connection after a reboot, an appropriate error state will be displayed:
In the GitHub repository is also present the code for an Android mobile companion app that allows the user to change the color of the LEDs and the timezone (coming soon) of the clock.
Once installed and run the app will look for a clock in range, using Android Nearby API, without any user configuration. Once the clock is found, the color palette is displayed and as soon as the user selects a new color, the LEDs are updated using that color.
Using Smart Home it is possible to change the clock LEDs color through the Google Assistant. This will trigger a Firebase Function changing some values in the project's Firebase Realtime DB, which will be read by the Android Things board. The changes will then be reflected on the actual clock.
In the GitHub repository it is possible to find all the needed steps to configure Smart Home for the Word Clock, and once done it will be possible to control both color and brightness, as shown in the following video:


Comments