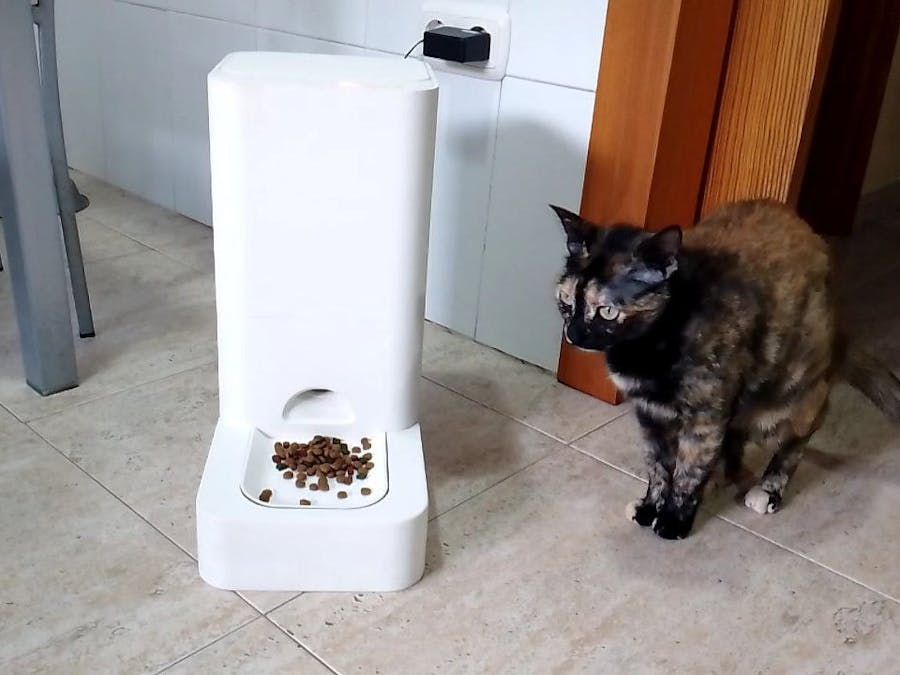
SmartMichi has been designed to dispense cat food at specific times of day, programmed beforehand by the user. It has a level sensor to inform when your cats run out of food, and a weight sensor to detect how many food has been dispensed.
Furthermore, it can send all this data by means of MQTT.
3D DesignThe design is basically a endless screw mechanism with a nice case.
We have attached the mesh files of the assembly. However, we wouldn't recommend printing from scratch because some parts are really big. Instead, use the STEP file to trim the parts that fits your 3D printer. Then you can use Loctite to glue up the parts.
Furthermore, if you don't want to print that much, you can always print the mechanism and make a wooden case.
Reading the level is made by using an ultrasonic sensor and measuring the distance to the bottom of the tank. Later, with simple math we can estimate the level of food. However, as we putted the sensor at an angle we need to do some trigonometry before calcualting the level.
As shown in the figure, by knowing α and hypotenuse lenght, we can easily calculate x. And with x obtaining the level in percentage is easy maths:
float x = distance * 0.97236992039; // cos (13.5 deg) = 0.97236992039
int level = 100-((x*100)/(tank_heigth));Neopixel stick has 8 leds, so for turning them on/off according to level we decided to divide percentaje in 8 integers:
int nLeds = (level* 7/100);

//Remeber that decimal values are truncated, so the output of this function is always //an integer between 0 and 7. 8 diferent values.
Dependig of the nLeds value a case is triggered. Each case turn on/off the ledds with their correct colour and brightness.
switch (nLeds)
{
case 7:
pixels.setBrightness(100);
setColor(7, 0,255, 0);
setColor(6, 0,255, 0);
setColor(5, 0,255, 0);
setColor(4, 0,255, 0);
setColor(3, 0,255, 0);
setColor(2, 0,255, 0);
setColor(1, 0,255, 0);
setColor(0, 0,255, 0);
break;
/*
And so on....
*/
case 1:
setColor(1, 255,100, 0);
setColor(0, 255,100, 0);
break;
case 0:
setColor(0, 255,0, 0);
break;
default:
break;
}
Is note the prettiest way, but it works like a charm.
PD: To control the leds, adafruit library was used.
Reading the weightThe dispenser features a load cell to measure and control the amount of food being dispensed. In our case was a 10kg load cell taken from an old kitchen scale.
The load cell converts the deformation of the bar into a change of resistance.
That resistance variation can be read and converted to digital values using an HX711.
The only steps needed for calibrating the system is introducing the cal factor of your own load cell.
double cal_factor = -416.12; //Line 11 on Weight_Stuff.cppMore info about load cells and how to calibrate them here:
Web serverTo configurate all the parameters, the esp8266 is in charge of connecting to WiFi and register the information.
The esp8266 acts as an access point (AP mode) while no wifi is connected, hosting a web server. The user connects through the esp8266's ip (192.168.4.1) and registers the WiFi's SSID and password. Now the device is connected to the internet (it enters in STA mode). The parameters are saved with SPIFFS (SPI Flash File System).
Through an static ip (configured as default as 192.168.1.200) the user accesses the web hosted by the esp8266 and registers the weight, day and hour for the food to be dispensed.
The static ip defined is intented for WiFi from homes, not another kind of networks configuration. Other networks might cause that the esp8266 web server can not have the static ip defined and it creates a new unknown ip. To find that ip, the user would have to enter in the router's configuration and search manually for it.


_3u05Tpwasz.png?auto=compress%2Cformat&w=40&h=40&fit=fillmax&bg=fff&dpr=2)
Comments
Please log in or sign up to comment.