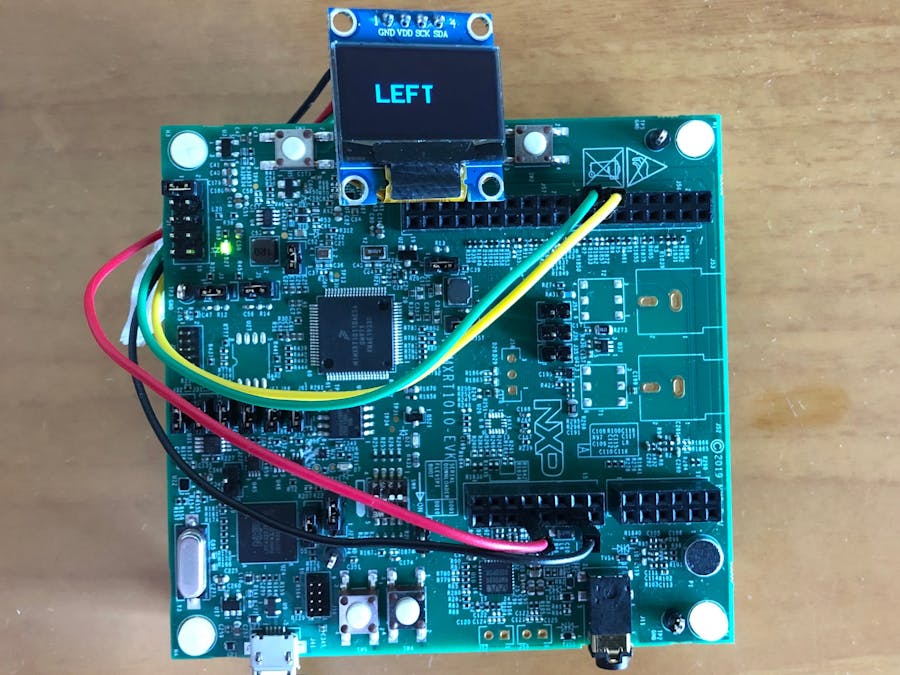
In this project I built an application around a model trained to recognize words left, right, up, and down. All it does is capture and process audio, feed it into a TensorFlow Lite model, and display the output on an OLED display. I will give a walk through to set up and do machine learning at the edge using i.MXR1010 evaluation kit.
Set up a development environmentAny machine learning and embedded electronics project needs many hardwares and softwares to work with. I am using MacOS for development. Since Nvidia GPU has no support on MacOS so I am using a Linux desktop for training and model generation.
Install MCUExpresso IDE
MCUExpresso IDE can be downloaded from here: https://nxp.flexnetoperations.com/control/frse/download?element=11479907. You need to register and login to download it.
We also need to download MCUExpresso SDK from here: https://mcuxpresso.nxp.com/en/welcome. We can customize the SDK using the MCUXpresso SDK Builder.
After downloading the SDK we need to drag and drop the downloaded bundle into the MCUExpresso IDE Installed SDKs area shown below (red box).
We can create a new project from the Quickstart Panel > New Project which displays a wizard where we can choose IMXRT1010 as development board. We can configure the required drivers/components using this wizard as shown below. To adding/removing the drivers and other components can be done during. development. Since we will be using TensorFlow C++ library so I chose C++ Project.
Install TensorFlow Lite for Microcontrollers
TensorFlow Lite for Microcontrollers is able to generate standalone projects that contain all of the necessary source files. My MCUXpresso IDE workspace is at ~/Documents/MCUXpressoIDE_11.1.0/workspace/. You may need to change path based on your directory structure. We also need make version 3.82 or later. The bundled make version is 3.81 on MacOS Catalina. We can install required version using
brew install makeand can run it using gmake command.
cd ~

git clone https://github.com/tensorflow/tensorflow.git

cd tensorflow

gmake -f tensorflow/lite/micro/tools/make/Makefile generate_projects

cp -r tensorflow/lite/micro/tools/make/gen/osx_x86_64/prj/micro_speech/make/* ~/Documents/MCUXpressoIDE_11.1.0/workspace/IMXRT1010_Speech_Recognition/source
After copying we will have TensorFlow C++ library with few other third party libraries for audio processing. We need to set include path for the libraries which are not part of the SDK (highlighted in the screenshot below) using Quickstart Panel > Edit Project Settings > C/C++ build > Settings > MCU C++ Compiler > Includes.
The application keeps captured audio data in buffer which is created at runtime so we need to resize default heap size which is 2KB only to 14 KB. Also, some buffer data needs to be non-cacheable. We can take advantage of the FlexRAM functionality of the i.MXRT1010. The stack/heap size and non-cacheable data can be configured using Quickstart Panel > Edit Project Settings > C/C++ build > Settings > MCU C++ Linker > Managed Linker Script.
The i.MXRT1010 has limited 128 KB memory divided into 32KB banks. The compilation gets failed due to overflow of the memory.
section `.heap' will not fit in region `SRAM_DTC'
arm-none-eabi/bin/ld: region `SRAM_DTC' overflowed by 15920 bytes

Memory region  Used Size Region Size %age Used
BOARD_FLASH:   215432 B  16 MB       1.28%
SRAM_DTC:      48688 B   32 KB       148.58%
SRAM_ITC:      0 GB      32 KB       0.00%
SRAM_OC:       0 GB      32 KB       0.00%
NCACHE_REGION: 4748 B    32 KB       14.49%
Thanks to FlexRAM we can configure variable declaration to opt memory banks using code below. The __DATA(RAM3) is used to tell the compiler to keep the variable g_audio_capture_buffer which is around 16 KB into OCRAM section (SRAM_OC) of the FlexRAM.
__DATA(RAM3) int16_t g_audio_capture_buffer[kAudioCaptureBufferSize];After compilation we can see the compiler output for memory distribution below.
Memory region  Used Size Region Size %age Used
BOARD_FLASH:   231432 B   16 MB      1.38%
SRAM_DTC:      32688 B    32 KB      99.76%
SRAM_ITC:      0 GB       32 KB      0.00%
SRAM_OC:       16000 B    32 KB      48.83%
NCACHE_REGION: 4748 B 32 KB 14.49%The model we are using was trained with the TensorFlow Simple Audio Recognition script, an example script designed to demonstrate how to build and train a model for audio recognition using TensorFlow. The model was trained on a Linux desktop with eGPU (Nvidia 1080 Ti) with four words "up", "down", "left", "right". Other words from the datasets were used as "unknown". The created model is converted to the TensorFlow Lite model and the converted model is transformed into a C array file for deploying with the inferencing code. The TensorFlow Lite Micro SDK is used to run inference on the device. A convolutional neural network is used for the model creation.
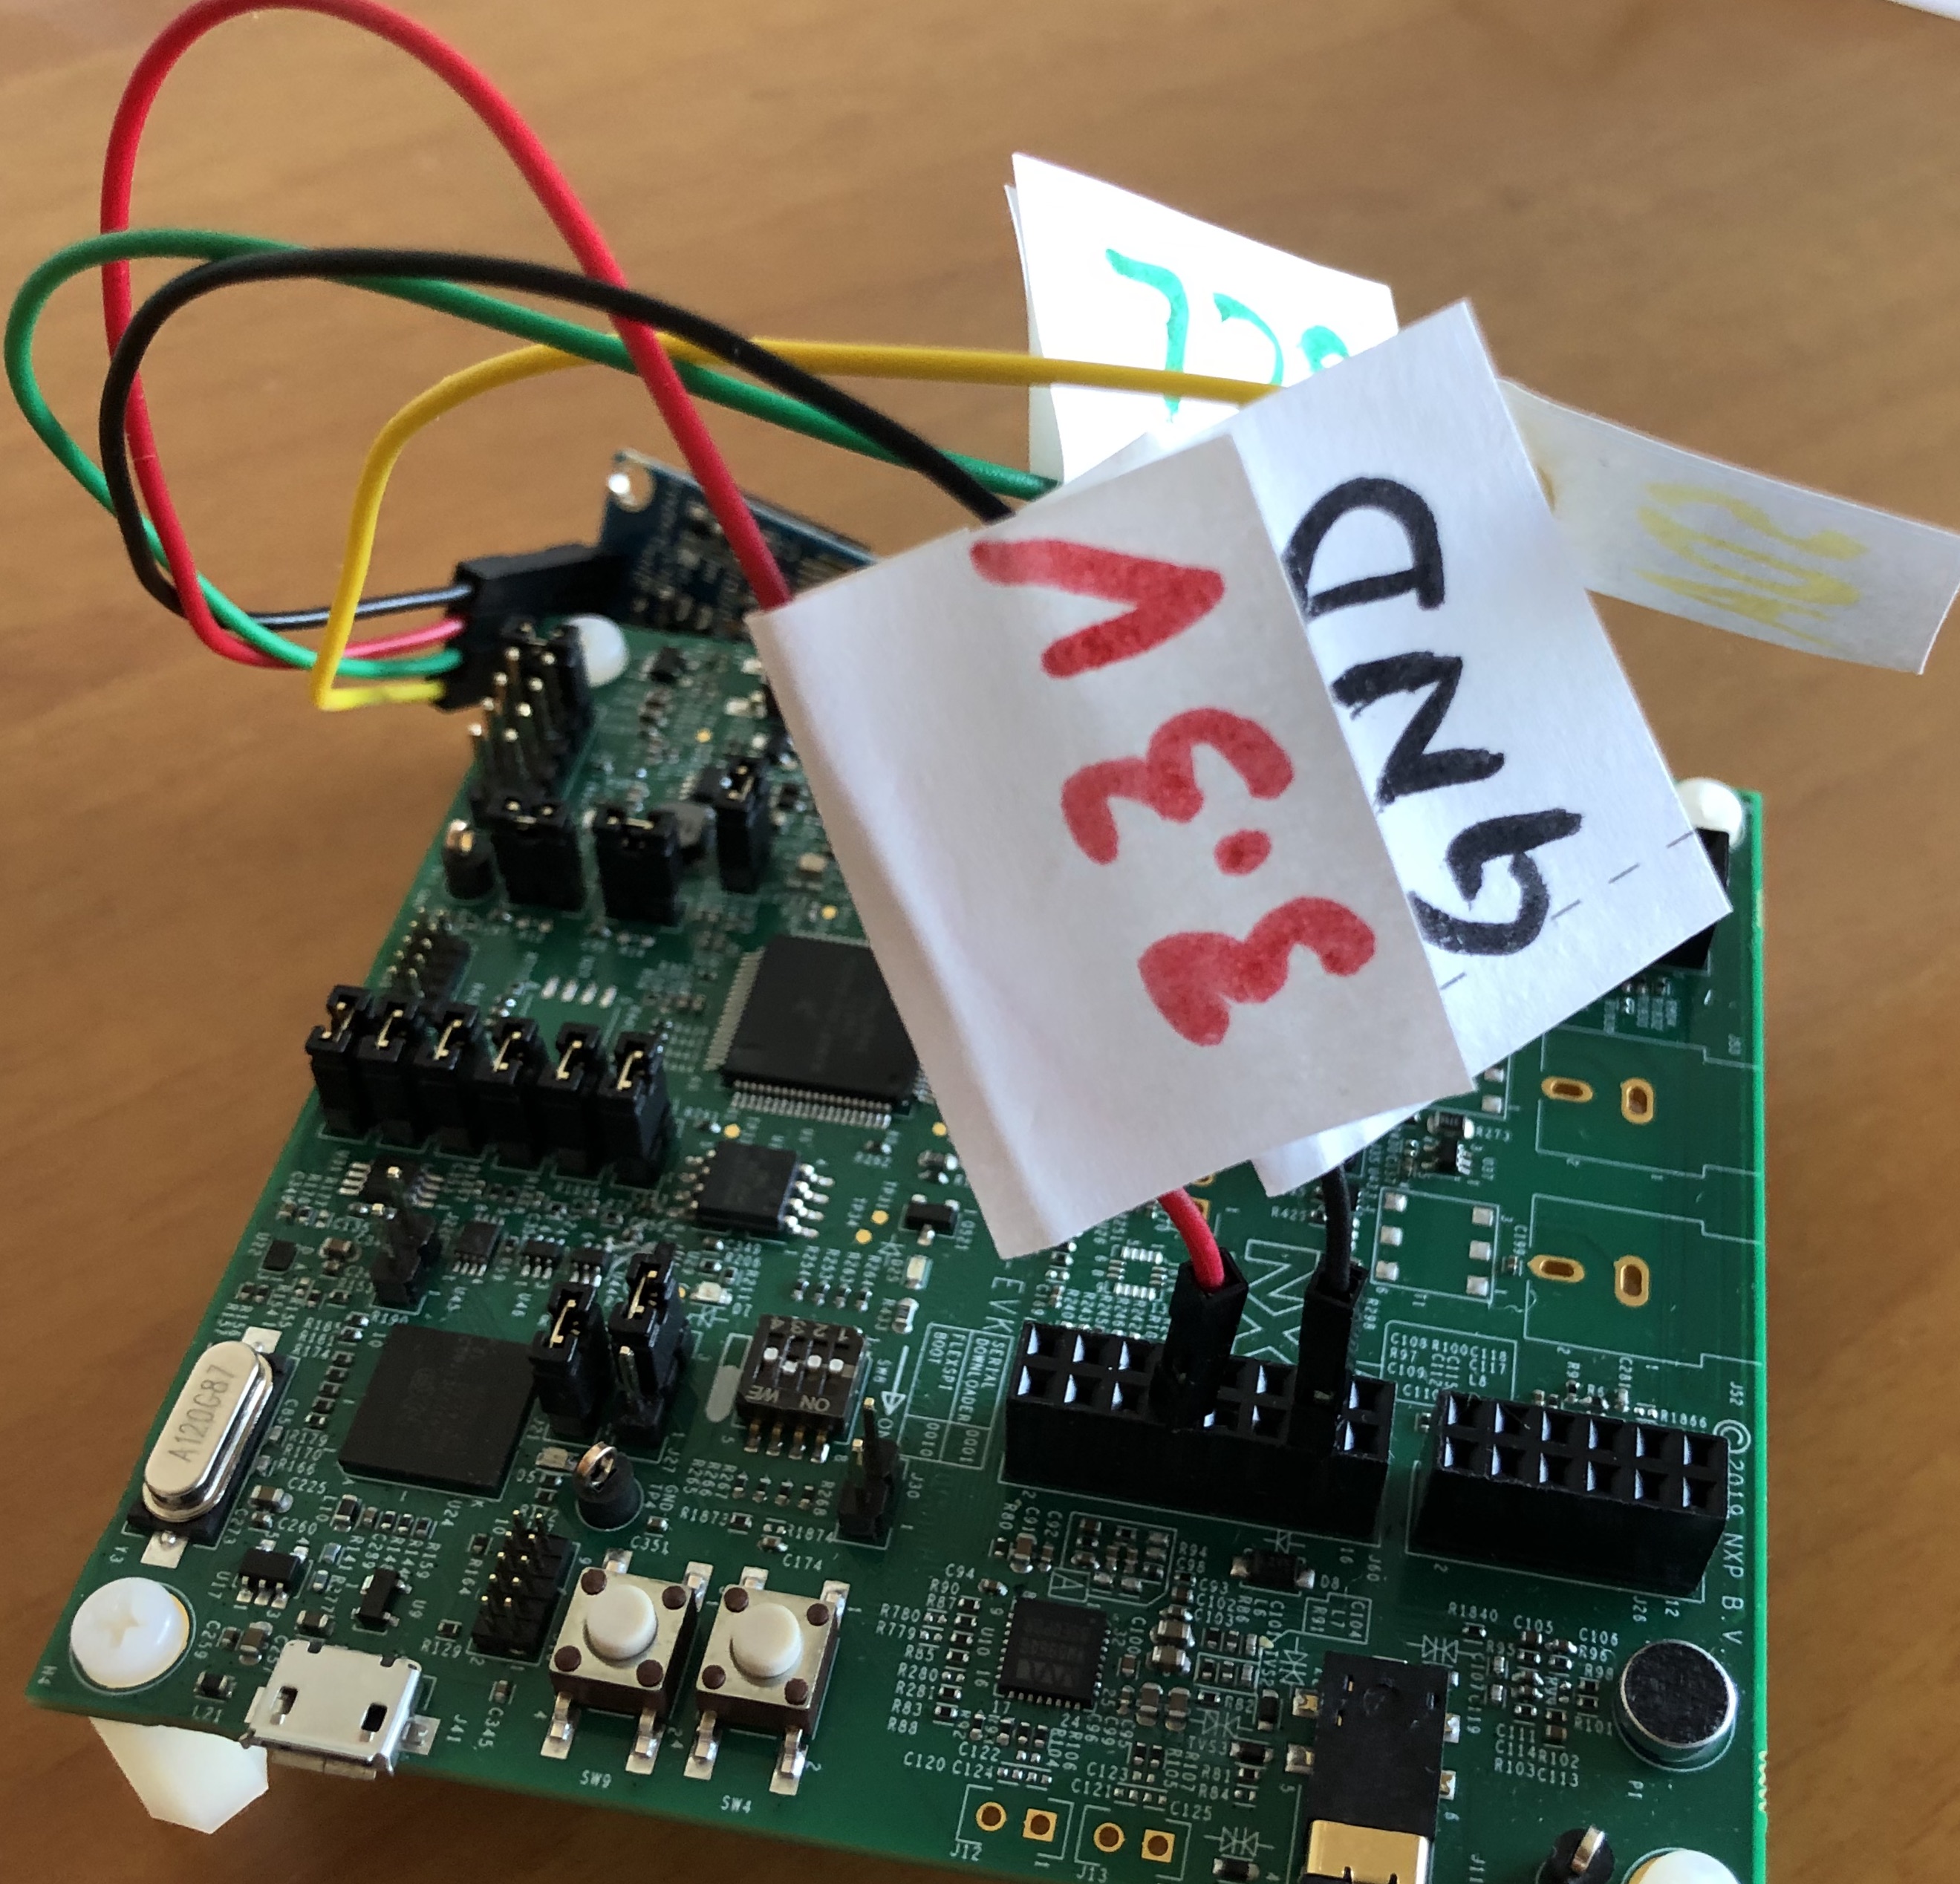
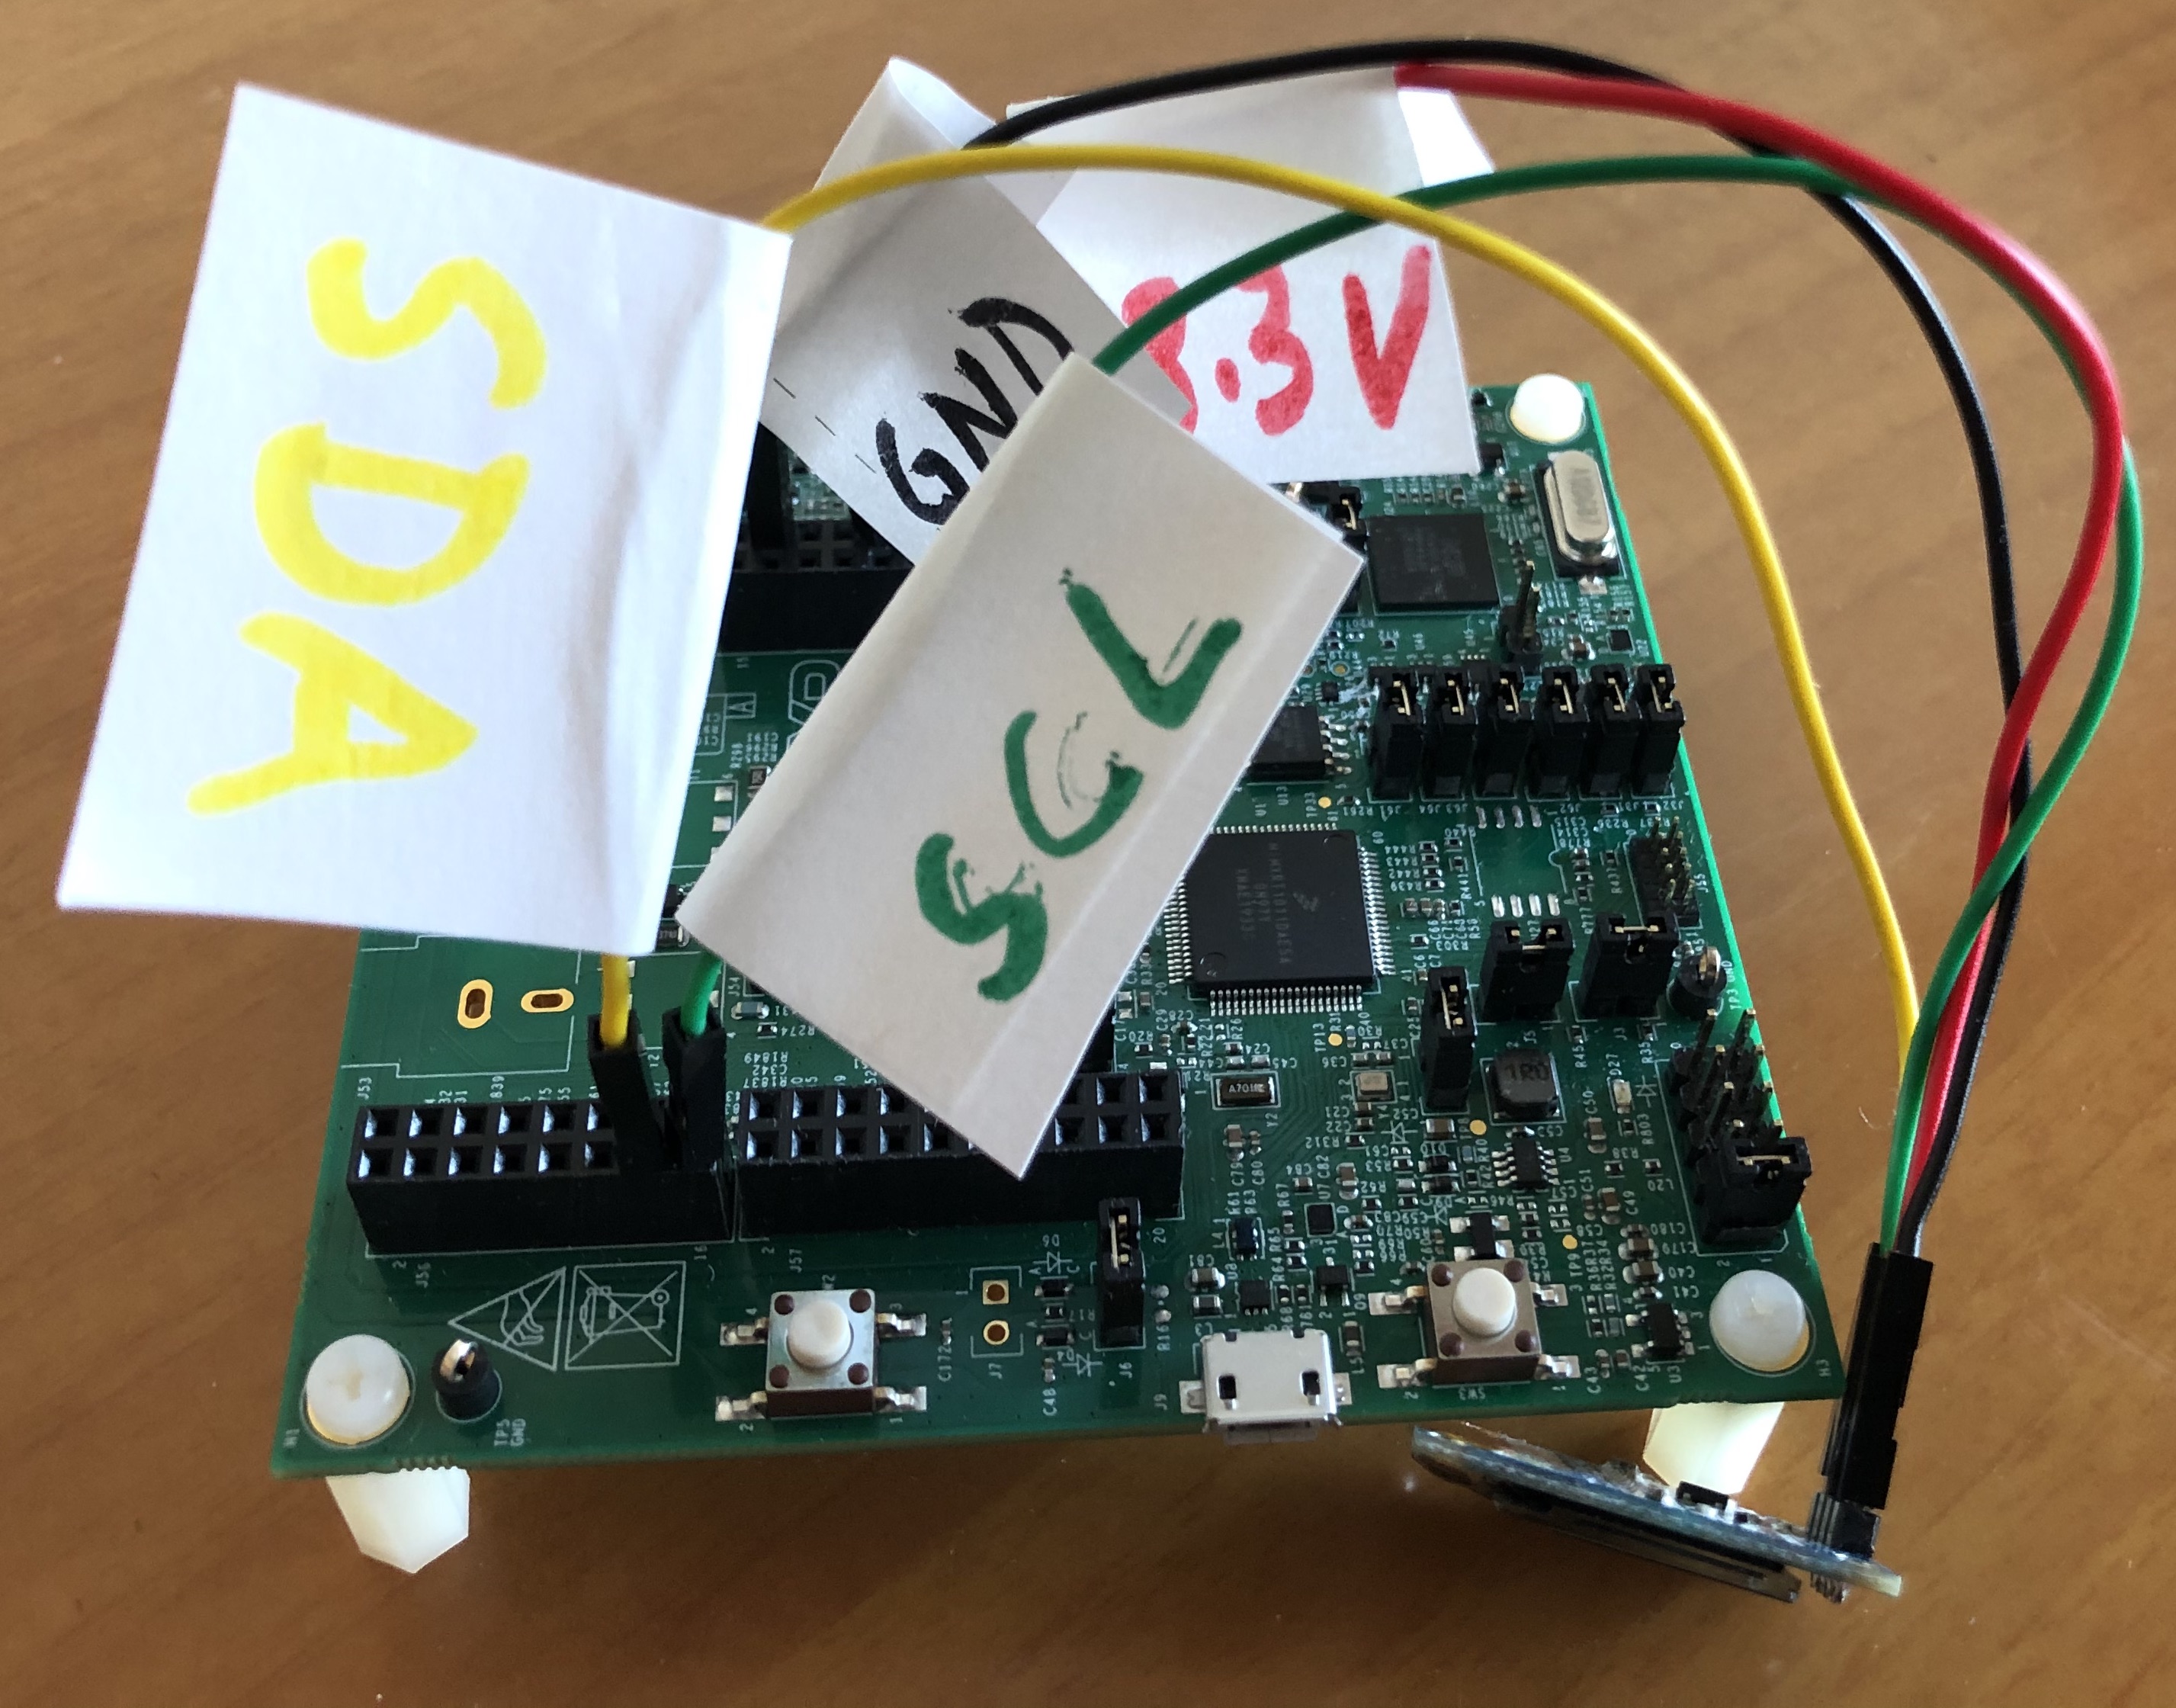
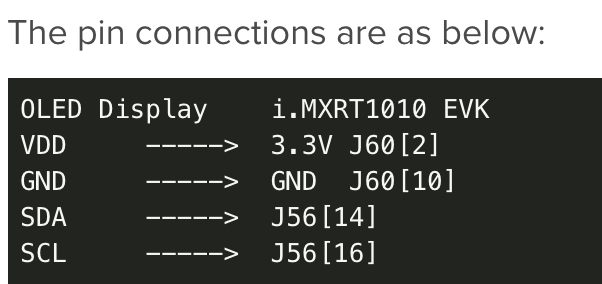
On-device inferenceThe audio is captured using Synchronous Audio Interface (SAI) with enhanced Direct Memory Access (eDMA) controller. The process begins by generating a Fast Fourier transform (FFT) for a given time slice—in this case 30 ms of captured audio data. The TensorFlow Lite model doesn't take in raw audio sample data. Instead it works with spectrograms, which are two dimensional arrays that are made up of slices of frequency information, each taken from a different time window. We can think of the spectrograms as image data which is fed into the model for inferencing. The OLED display is connected to the i.MXRT1010 EVK over I2C. The predicted word is displayed at the OLED display.
The project can be build and debug using the MCUExpresso IDE Quickstart Panel > Build and Quickstart Panel > Debug respectively. The UART pins are configured to redirect print during debugging using the menu ConfigTools > Pins.
The debug print can be viewed using following command on MacOS:
screen /dev/cu.usbmodem14202 115200The on-board LED is also configured to blink while inferencing.
Demo VideoThe live demo is below. It is not perfect but works.
Scope for improvementThe inferencing rate can be improved if 8-bit quantized model is used. Right now there are some ops missing in the TensorFlow Lite Micro SDK which do not allow conversion of Conv 2D to a quantized version. Currently sometimes it misses some words due to accent or noise in the audio data. The accuracy of the model can be improved if it is trained with more own voice data using transfer learning. Also, the on-board microphone data has some noise which can be either fixed using some settings or an external digital microphone can be used for better performance.
The MCUExpresso project for this application can be found at the Github repository mentioned in the code section.


Comments
Please log in or sign up to comment.