


Hardware components | ||||||
 |
| × | 1 | |||
 |
| × | 1 | |||
 |
| × | 1 | |||
 |
| × | 1 | |||
Software apps and online services | ||||||
 |
| |||||
| ||||||
| ||||||
| ||||||
INTRODUCTION
This project has a primary functionality of alerting the user or the owner of some company about the anomaly in the intensity of light or degrees of temperature (provided instead of LDR you connect LM35 to bolt device) in a photosensitive environment such as medicine storage or plantation of certain herbs/sherbs. This sudden change in the readings from sensor or an anomaly is detected with the help of Z-score analysis and if the change is detected the user is alerted through an email that is sent via Mailgun services.
ConnectionsTo make a working connection we need to take an LDR sensor and connect its longer leg to 'A0' pin and shorter pin to '3V' pin. Then we need a 10k ohm resistor whose one leg will go to 'A0' pin along with LDR's longer leg and other leg will go to 'GND' pin. Now this resistor will lead to a Voltage divider circuit ( as shown in image below ) that is the principal behind the working of this project.
If you are curious enough you might be wondering how does the LDR able to sense the light around itself and calculate it in numbers for us to understand.
The answer is simple, it works on the principle of 'ohms law' [V=IR] but how does it work? What happens is that the LDR has its own resistor that it increases or decreases based on the intensity of light (if the light is brighter the value of resistor decreases and vice versa) and also we have connected an external 10k ohm resistor to it (in series). So every time the light in the surrounding changes the resistor of LDR changes and so the voltage across the LDR changes and remaining voltage is maintained across the external resistor. Now this remaining voltage across the external resistor( Vout ) is the reading that we see on the screen. Check out the diagram and the equation below to get clarity.
Circuit Diagram
Check out this file below in the code section.
This file has 8 important variables:-
- MAILGUN_API_KEY :- provided at Mailgun's site. It allows our program to communicate with Mailgun when it has to send an Alert!! Click on sandbox url then select API, select your language and your Api Key will be visible as below.
- SANDBOX_URL :- provided at Mailgun's site. It is the domain through which we receive an Email. Check the screenshot below
- SENDER_EMAIL :- test@SANDBOX_URL: an account created by mailgun using the domain SANDBOX_URL. You receive an email from it.
- RECIPEINT_EMAIL :- your email address that is registered at Mailgun. You will receive an Email Alert at this Email.
- API_KEY :- It allows our program to communicate to our bolt device and bolt cloud while retrieving the sensor_values from the sensor. Find this at your bolt cloud. Check the screenshot below
- DEVICE_ID :- Name of your device. Used with API_KEY to identify your bolt device. Find this at your bolt cloud. Check the screenshot below
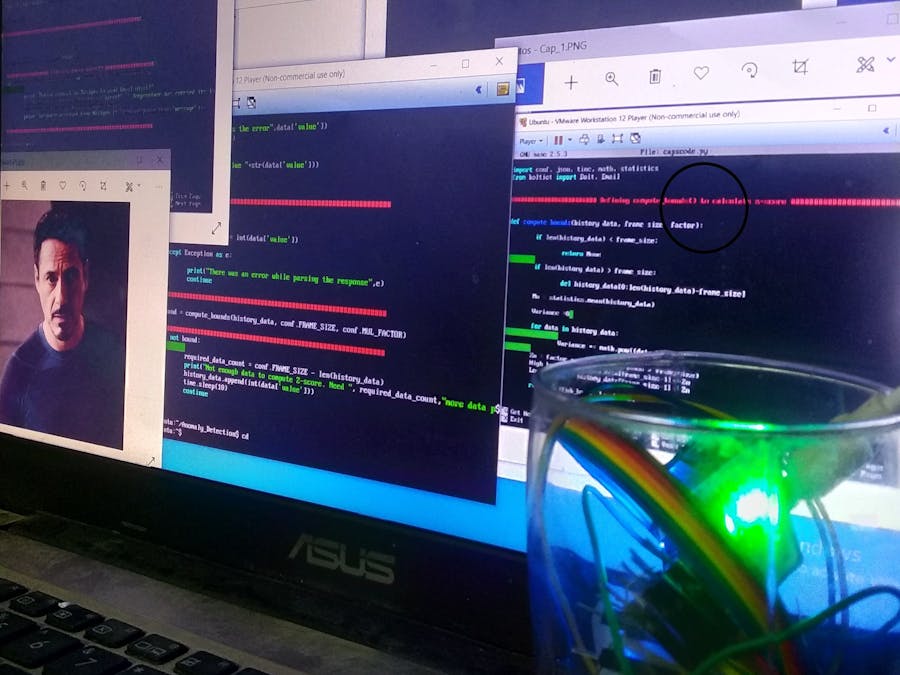
- FRAME_SIZE :- minimum of readings to define the anomaly bounds i.e. to calculate Z-score
- MUL_FACTOR :- determines the distance between the high & low bound as shown in image below the shortest (perpendicular) distance between red and green curves will increase on increasing the value of MUL_FACTOR.
Check out this file below in the code section.
This file has the codes to calculate Z-score, and high and low bounds, to define the anomaly boundary and detect anomalies if any, in order to send an ALERT! via email.
Detection of Anomaly & calculation of Z-scoreAnomaly(sudden change) is determined with the help of Z-score analysis. Z-score is calculated as shown below.
where Mn is the mean of first r ( frame_size ) values, C is the MUL_FACTOR and Vi is the ith value retrieved from the sensor. Tn are the high and low bounds calculated by adding and subtracting the Z-score respectively from each sensor value. This is how the the Anomaly boundary is defined as shown in the graph above under the MUL_FACTOR. And any value outside these bounds is said to be an anomaly.
Output and Response:-Following is the output when the main file light_detector.py is executed. Now because in my code FRAME_SIZE = 10, therefore it first collected 10 data points to define the Anomaly boundary as shown below. Then the lights of the room were turned OFF to intentionally create an anomaly and so it responded as below on the output screen.
"Lights suddenly changed. Sending an Email..." Check below!
This is the EMAIL ALERT received from test@SANDBOX_URL. (Check below!)
That's it!! that is all about the light detector alert you need to know ( actually you know a bit more than you need) to make it work by yourself Refer to the video above for better understanding and live working of the project and below in code section for complete code.
Thankyou for your time


Comments
Please log in or sign up to comment.