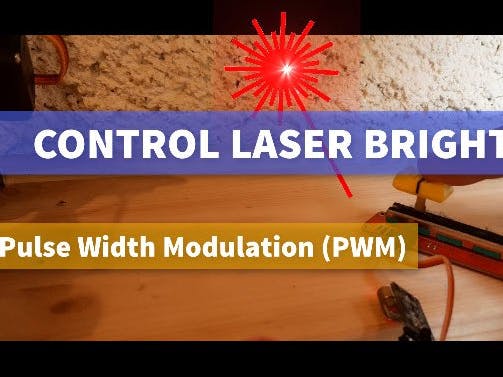
In this tutorial we will learn how to control the LASER brightness with a potentiometer.
Watch a demonstration video.
WARNING: Lasers can be harmful to the eyes and you should never look directly into the beam
Step 1: What You Will Need- Arduino UNO (or any other Arduino)
- LASER module
- Potentiometer module
- Jumper wires
- Visuino program: Download Visuino
- Connect potentiometer pin [DTA] to arduino analog pin [A0]
- Connect potentiometer pin [VCC] to arduino pin [5V]
- Connect potentiometer pin [GND] to arduino pin [GND]
- Connect LASER pin [S] to Arduino digital pin [10]
- Connect LASER pin [GND] to Arduino pin [GND]
The Visuino: https://www.visuino.eu also needs to be installed. Download Free version or register for a Free Trial.
Start Visuino as shown in the first picture Click on the "Tools" button on the Arduino component (Picture 1) in Visuino When the dialog appears, select "Arduino UNO" as shown on Picture 2
Step 4: In VisuinoConnect Arduino AnalogIn pin[Out] to Arduino Digital [10] pin - Analog (PWM)
Step 5: Generate, Compile, and Upload the Arduino CodeIn Visuino, at the bottom click on the "Build" Tab, make sure the correct port is selected, then click on the "Compile/Build and Upload" button.
Step 6: PlayIf you power the Arduino module and change the potentiometer tha laser will change its brightness.Congratulations! You have completed your project with Visuino. Also attached is the Visuino project, that I created for this tutorial, you can download it and open it in Visuino: https://www.visuino.eu


_ztBMuBhMHo.jpg?auto=compress%2Cformat&w=48&h=48&fit=fill&bg=ffffff)


Comments
Please log in or sign up to comment.