Project time 30mins
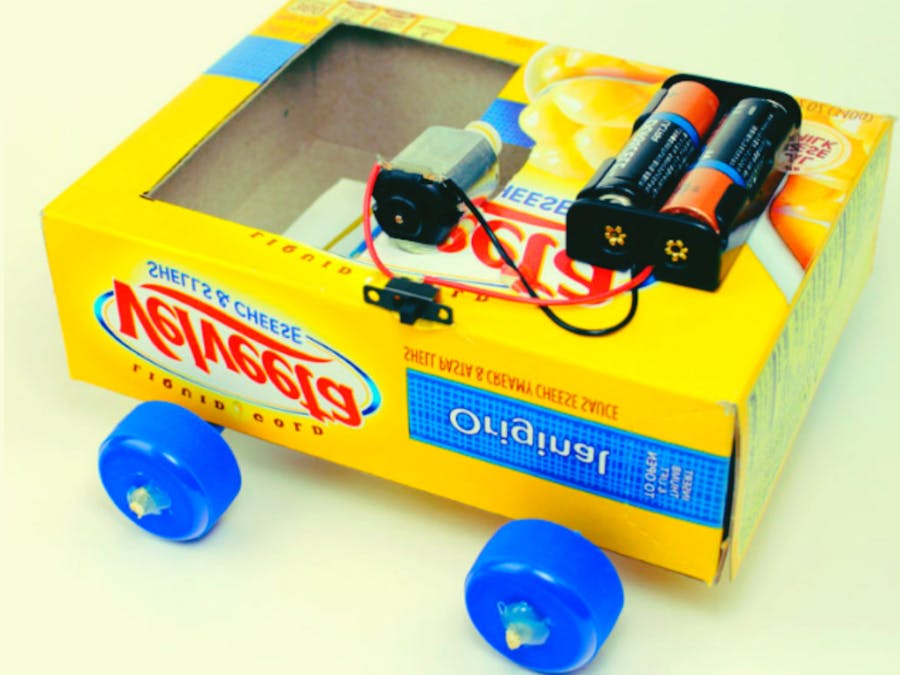
I will teach you how to use a recycled materials like dc motor, AA batteries and carton to make a toy car at home easily.
This project is mainly made for your kid’s, it’s a simple diy project from my YouTube channel. I have make many videos on simple life hacks like this that you must watch, you can view my channel here.
This project is a great way to come up to show your creativity skill for your kids and friends.
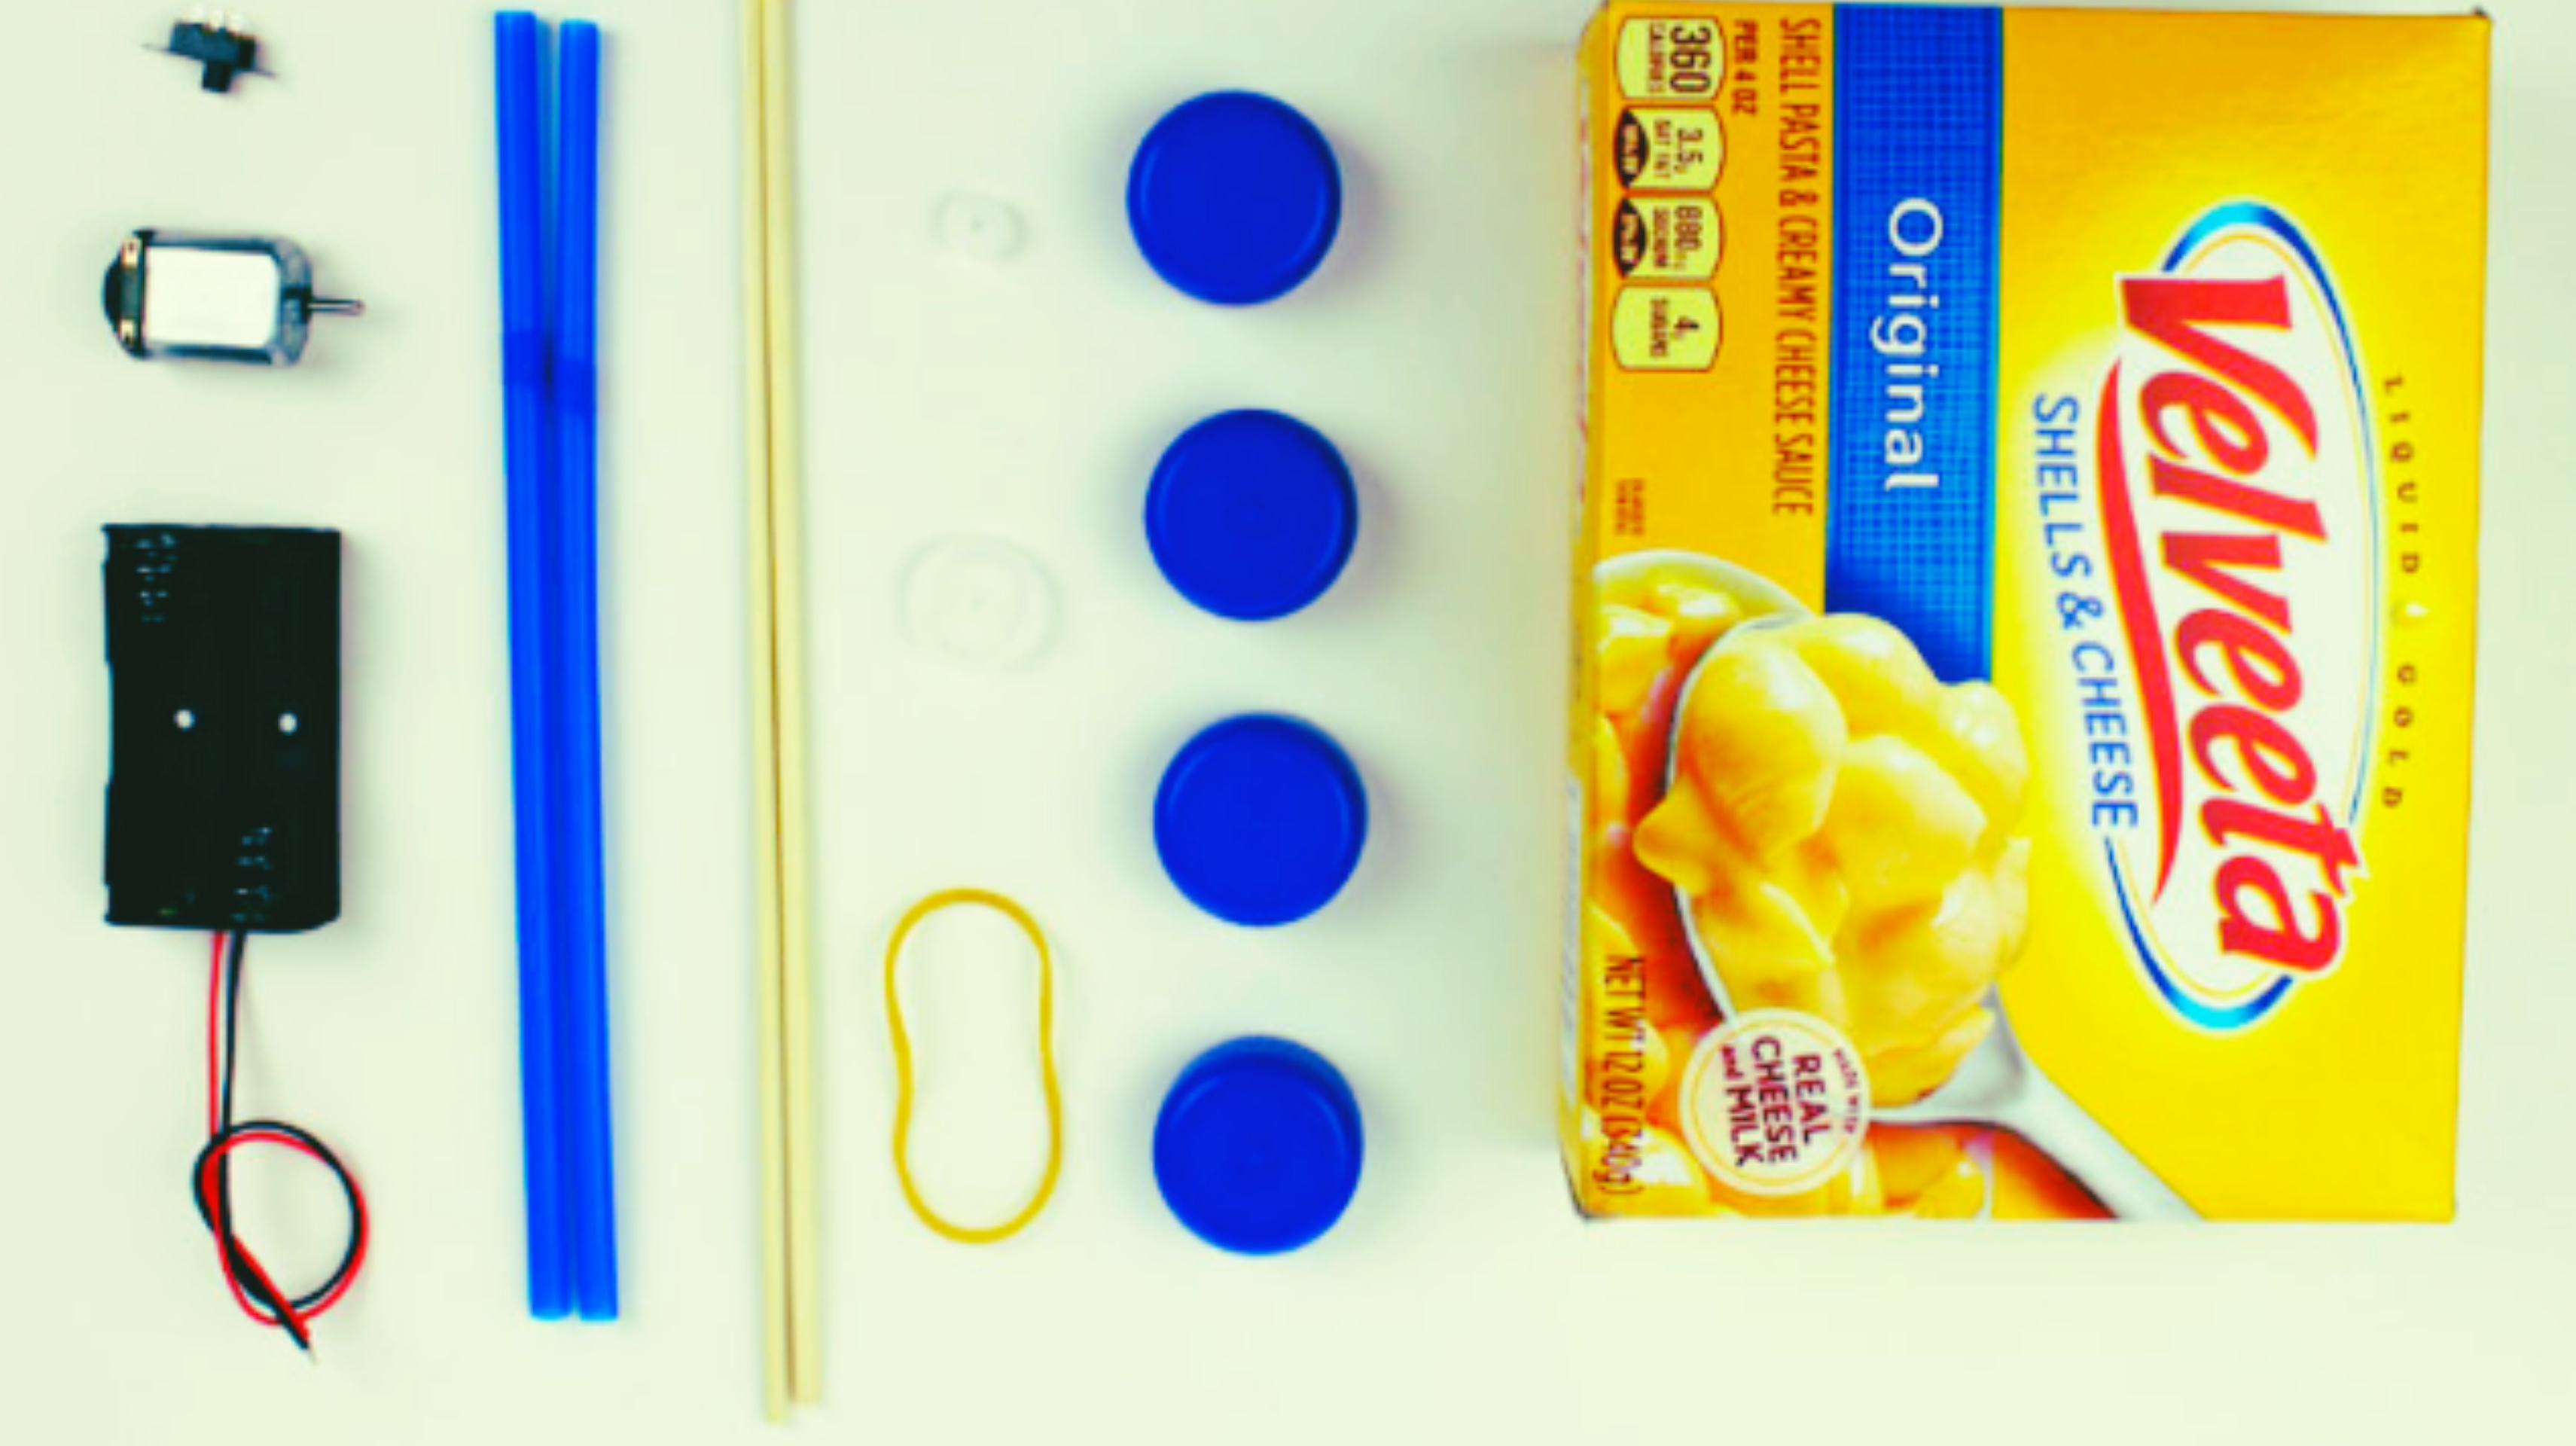
Materials required:- DC motor
- AA batteries(new)
- AA battery holder
- Switch
- Straws
- 2 plastic pulley
- Rubber band
- Wooden dowels/skewers
- 4 Bottle caps
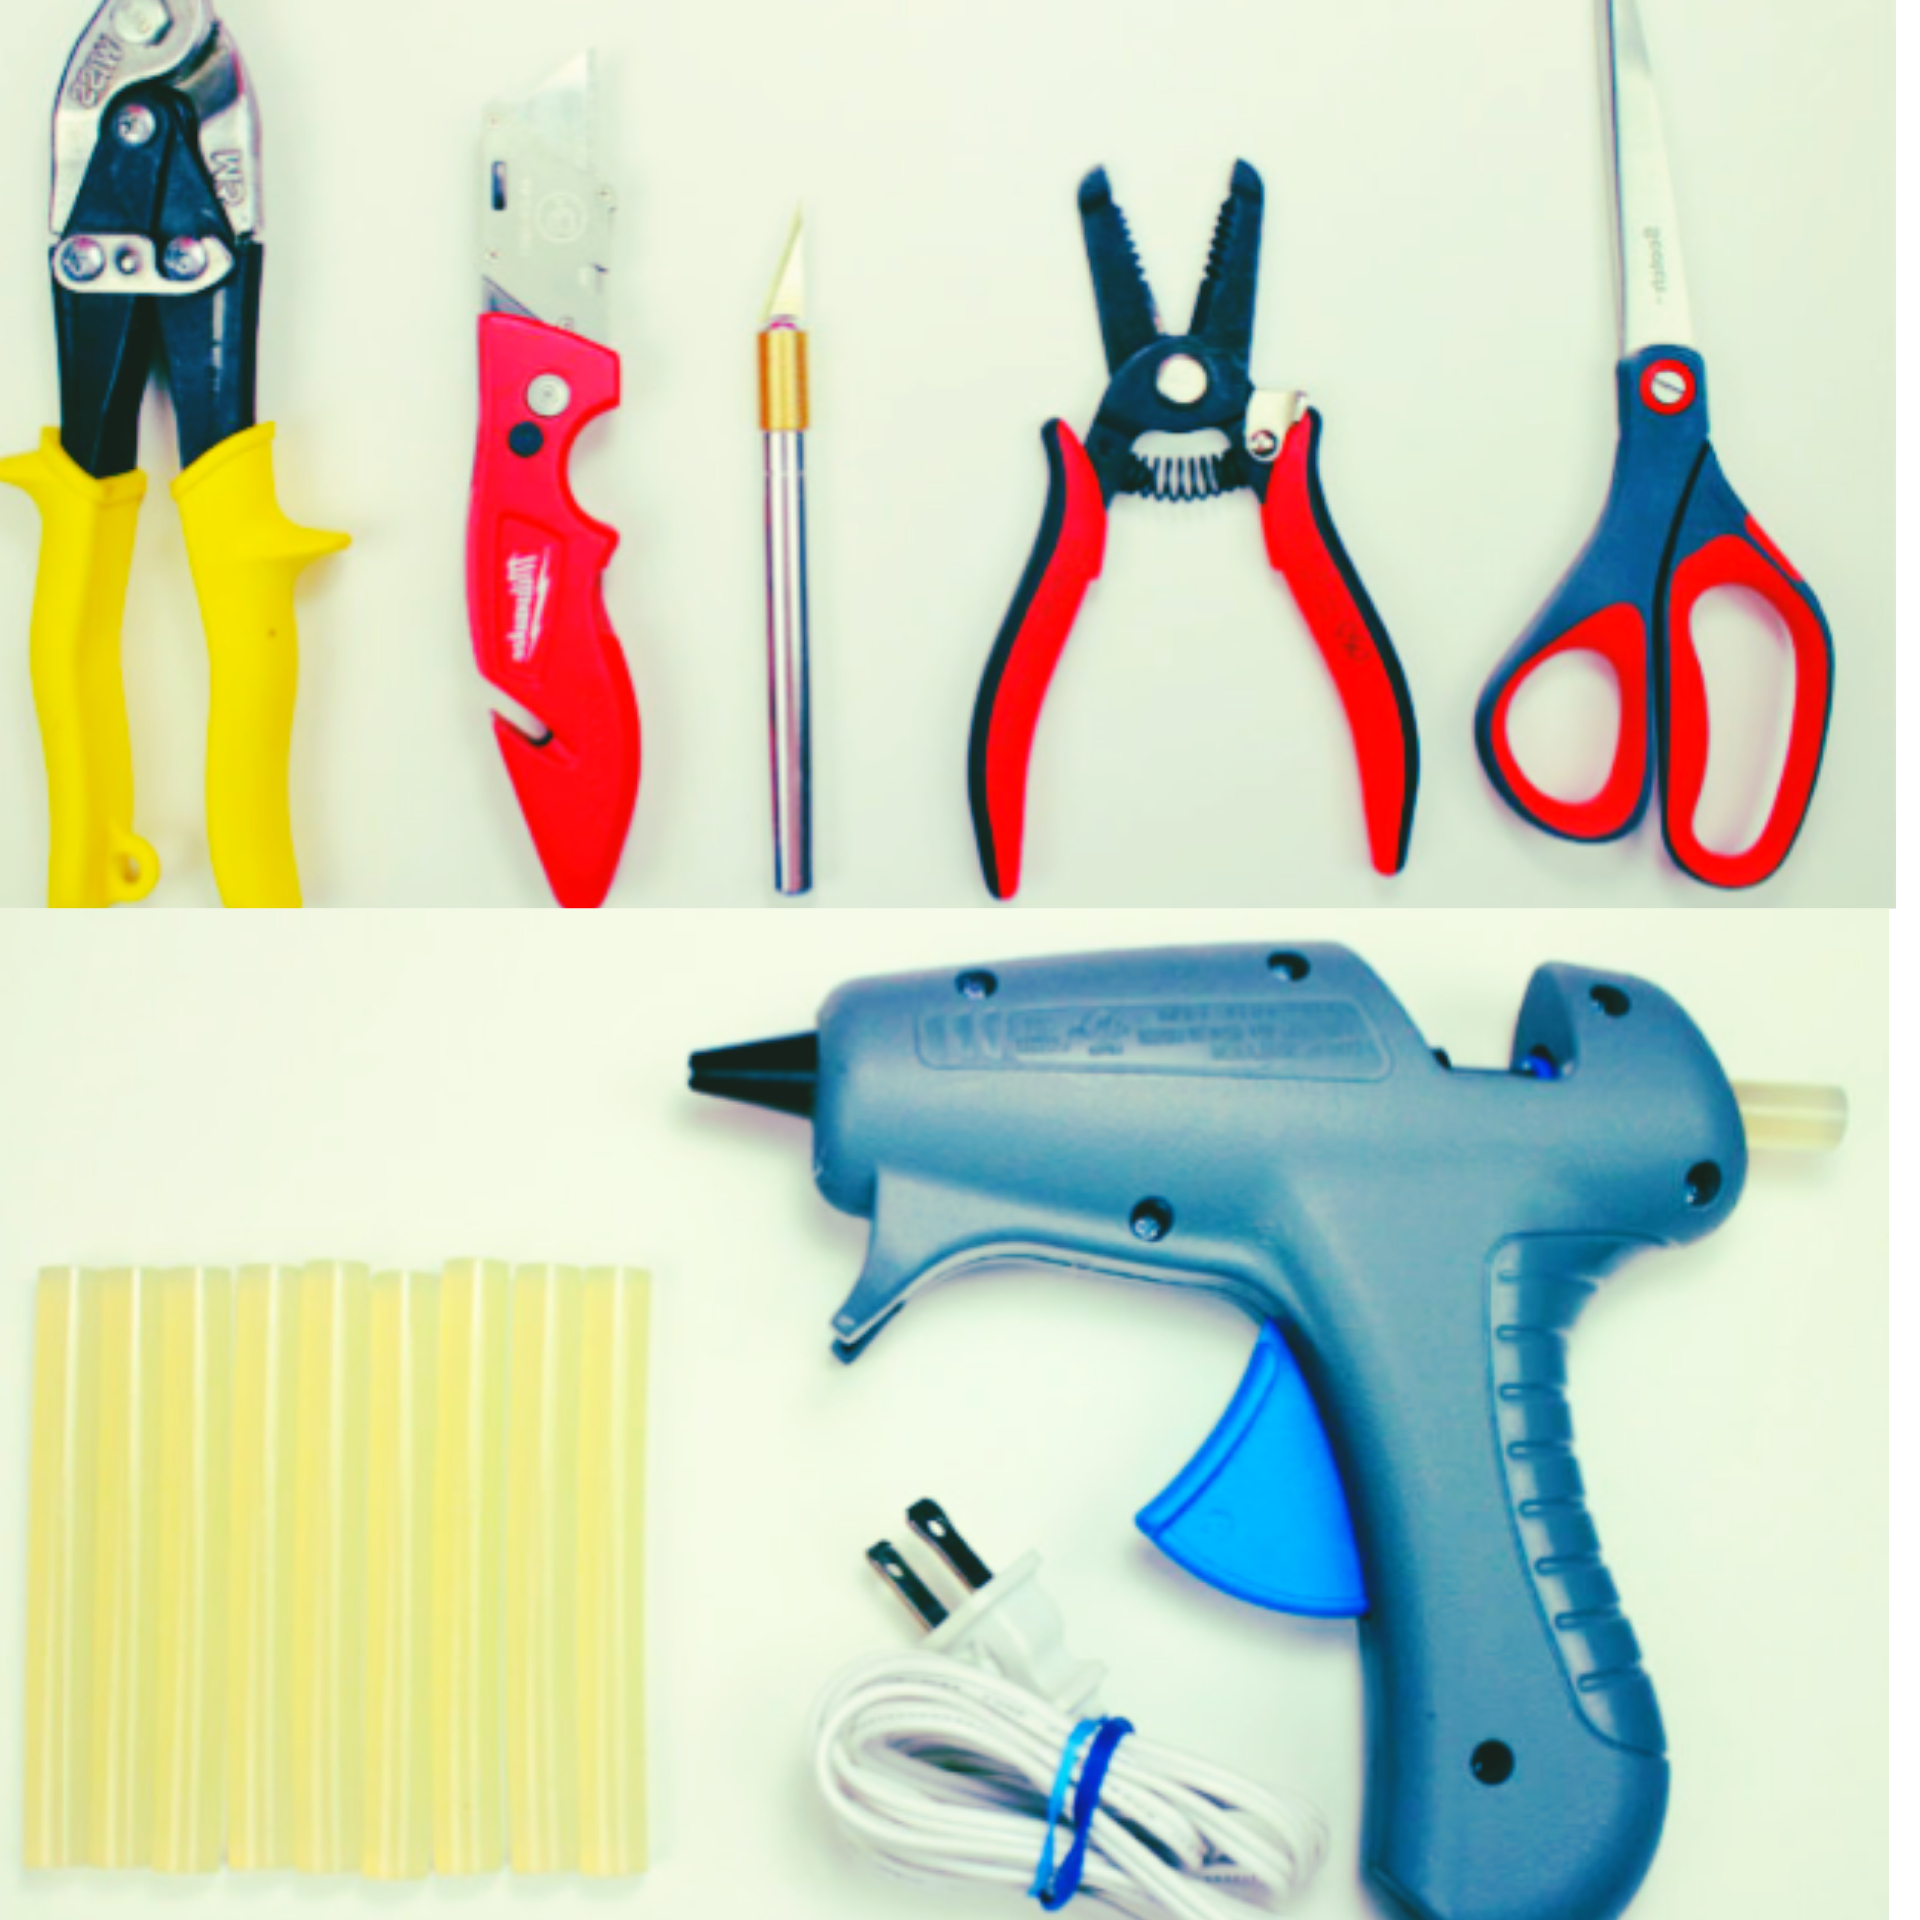
Tools needed:
- Knife or Razor blade
- Super glue or hot glue gun
- Scissors
- Wire straippers
- Tin snips
- Drilling machine
Step 1: Cut the carton top
. Measure 3 inches or more at the top of the carton, according to the length of the carton you use. But it is 3 inches I use on my own.
Step 2: cut the carton bottom
. Turn over the carton and use the measurement/shape you use above the carton to cut out the bottom.
Step 3: Add straws
. Place two straws on anyside you want and make sure each straw is 1 inch outside as show in the image above
. Add glue to the straw and make sure it dry very well
. Once the glue as dried, cut a section(1 inch) from the middle of the back straw(where you make a opening).
Step 4: Fixing of the pulley
. Take the 2 pulley (1 inch & 1/2 inch) with the rubber band as shown in the image above
. The small pulley goes on the motor shaft and the large pulley will goes to the place you cut out on the carton
. Pass the wooden skewer through the large pulley
Step 5: Fixing of the Axle
. Put the rubber band on one side of the straw
. Put the skewer you have put the pulley to into the straw you glue on the cardboard, and allow it to stay in the middle of the carton.
. then add glue to the skewer and the straw to make them glue firmly together.
Step 6: Drilling of bottle cap
. Take the 4 Bottles cap and place them on the table for drilling
. Use the drilling machine to make a tiny hole on each caps that will fit in the straw.
Step 7:Attaching of the wheels
. Put one skewer into each straw, make it past through the bottle caps and the straw as shown in the image above
. Apply glue to all sides to make them stick together for efficient rolling.
Note: make sure every settings and measurement are equal.
Step 8: cut out the pulley notching
. Use Scissors to cut a small portion on the carton (it’s for the small pulley)
Step 9:Battery Holder
. Place the battery holder on top of the carton and then apply glue to make it stick with the carton.
Step 10: Attach Dc motor
. Fix the pulley to the motor shaft and apply glue
. Place the DC motor to the notched place of pulley, apply glue
. Take the rubber from the big pulley to the small pulley (as shown in the image above).
Step 11: Wiring and switch
. Connect the red wire to one leg of the DC motor (do the same for the black wire).
. Apply glue on the carton then Place the switch on it.
. Cut one wire either red or black in the middle then connect each mouth to the switch (according to the image above).
Step 12: Adding of battery
. Put the batteries into the battery holder then turn on the switch and watch your car racing ahead.
Note:make sure the battery you are using is a new one, so that your car will race faster.
Drop your questions in the comment box, you can also ask me questions at Instagram, Facebook, linkdln and YouTube.
Suggestion:
15 AWESOME LIFE HACKS IDEA
Suggestion:
6 DC motor inventions at home
Suggestion:
5 simple inventions using recycled materials


Comments
Please log in or sign up to comment.