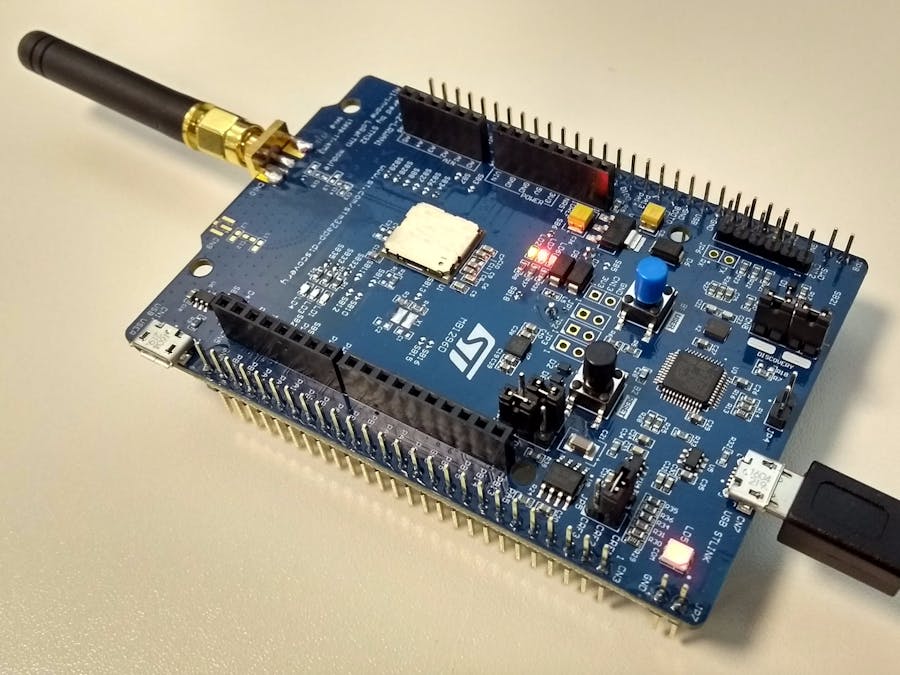
This project was made to present a complete LoRa solution.
This is the second part of a complete workshop that includes:
1 - Setting Up Laird Sentrius RG1xx LoRa Gateway
2 - Environmental Sensing Using LoRa and STM32
3 - Connecting STM32 LoRa Discovery Kit to AWS IoT
To start this project I suppose that you already did first part of the workshop, already set-up the gateway and have an application running on The Things Network.
On this part we will program the STM32 LoRa Discovery kit with the Nucleo Expansion to get the sensors data, connect to the gateway and send to The Things Network.
1) Creating device on The Things NetworkAccess your application on The Things Network
Select Devices and click Register Device
Create an Device ID to indentify your device on the network. On Device EUI, click on random button to generate it, then click Register.
The device was created on the network. The Activation Method is OTAA by default, click on Settings to change it.
Select the Activation Method ABP and disable Frame Counter Checks The Device Address, Network Session Key and App Session Key will be generated automaticaly. Click Save.
Now, we will program the STM32 LoRa Discovery Kit B-L072Z-LRWAN1 and the Nucleo Expansion (X-NUCLEO-IKS01A1) as the Node device. Unzip I-CUBE-LRWAN and start Keil uVision.
On Keil, click Project > Open > Open Project..., select the project inside the unzipped I-CUBE-LRWAN
The original demo was originally set to the european frequency 868MHz so we'll need to modify it to work on the 915MHz frequency.
Right-click on the project and select "Options for Target 'mlm32l07x01' ..."
Select the "C / C ++" tab, change "REGION_EU868" to "REGION_US915" and add the define "X_NUCLEO_IKS01A1". Click OK to proceed.
Right-click on "Drivers/BSP/X_NUCLEO_IKS01A2" > Options for Group...
Uncheck "Include in Target Build". Click Ok.
Then right-click on "Drivers/BSP/X_NUCLEO_IKS01A1" > Options for Group...
Check "Include in Target Build". Click Ok.
Open the file "Commissioning.h"
Make the following code changes on line 77:
#define OVER_THE_AIR_ACTIVATION 0
line 89:
#define STATIC_DEVICE_EUI 1
and line 122:
#define STATIC_DEVICE_ADDRESS 1
Open the "Device Overview" of your device on the Things Network. Use the information to change lines 96, 102, 107, 128, 133 and 138 as the following images.
By default, the application is configured in Low Power mode, sending messages with long intervals of time and not allowing debugging via the USB interface. To make our demonstration more efficient, we will deactivate the Low Power mode.
Open the hw_conf.h file:
Remove the comments from lines 129, 133 and 136:
Your application is complete! Connect your board to the computer, save all modified files, build and download code. Reset board when finished.
You must be receiveing a hexadecimal payload on The Things Network. Lets handle this data to facilitate our understanding.
Access your application on TTN and select Payload Formats. Enter the code below:
function Decoder(bytes, port) {
 // Decode an uplink message from a buffer
 // (array) of bytes to an object of fields.
 var decoded = {};
 // Decode bytes to int
 var batteryInt = bytes[7]
 var humidityInt = (bytes[5] << 8) | bytes[6];
 var pressureInt = (bytes[1] << 8) | bytes[2];
 var temperatureInt = (bytes[3] << 8) | bytes[4];
 // Decode int to float
 decoded.battery = (batteryInt*100)/254        // Battery in %
 decoded.humidity = humidityInt / 10;          // Humidity in %
 decoded.pressure = pressureInt / 10;          // Pressue in hPa
 decoded.temperature = temperatureInt / 100;   // Temperature in °C
 return decoded;
}
Save and go to Data:
Congratulations! Your device is connected and receiving environmental data!
Follow the next part of workshop to forward the data to a cloud web service.


Comments
Please log in or sign up to comment.