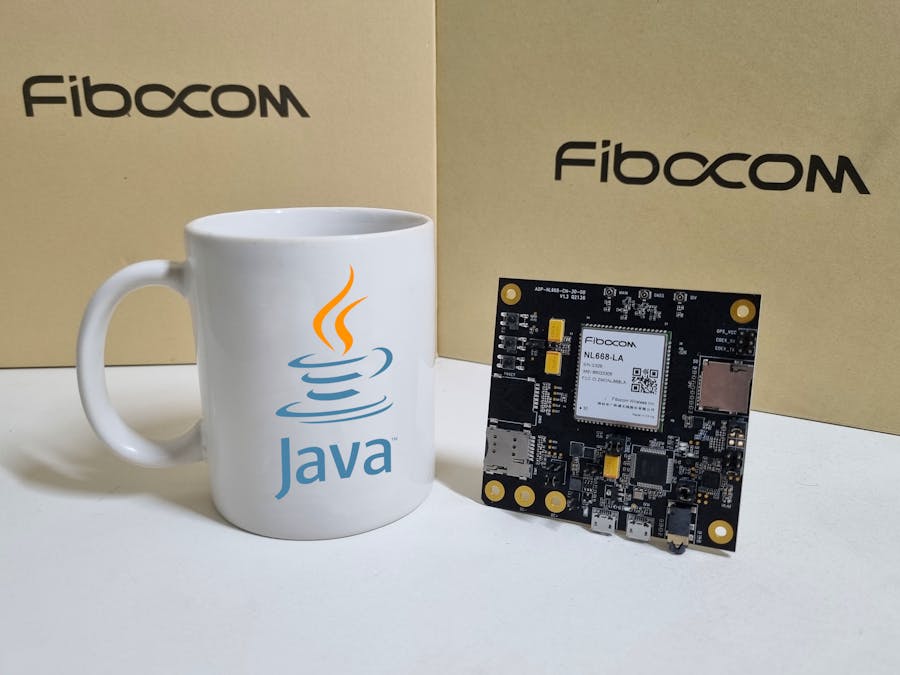
This documentation has the objective to teach how to use Java 8 on ARM processors that hasn't an official java support. We will use the NL668 and FG150 modules which are using the Qualcomm's MDM9607 and Qualcomm SDX55 respectively. At the end of this document you will have created an java binary file (JRE) that can be executed inside OpenLinux to run a compiled java aplication.
Both processors are ARMv7L, but for the NL668 we have an SoftFP support, instead FG150 have an HardFP support (this means differences between the way about how to process an floating point). Fortunately we can set the desired FP support just downloading the right EJDK from Oracle and then use the same method to compille the JVM.
Obs.: Its important to mention that Java 8 its free for personal use, development, testing, prototyping and demonstrations, BUT you maybe need an Oracle license to use it on production. So, check the Oracle's website to get more information:
https://www.oracle.com/br/java/technologies/javase/jdk-faqs.html
2. Requirements- Java JRE 8 or newer
- NL668 or FG150 Module
- Java SE Embedded 8 (instructions on next step)
Access the Java SE Embedded 8 page and download the target architecture version:
https://www.oracle.com/java/technologies/java-embedded-java-se-downloads.htm
Extract the EJDK files in any folder, and open a terminal inside /ejdk1.8.0/bin/
Then use the following command to create/compile the JVM:
./jrecreate.sh -d ./compact1-jre/ -p compact1If needed, change the -p compact parameter to the desired compact profile. (more info at: https://docs.oracle.com/javase/8/embedded/develop-apps-platforms/compact-profiles.htm )
Let's check if the java binary was created to the right platform:
file compact1-jre/bin/javaAnd now let's take a look about the folder size:
du -c compact1-jre/ -hConnect and turn on your module (info about first steps on openlinux: https://www.hackster.io/victorffs/nl668-la-openlinux-quickstart-c40508 ).
Use your terminal to enable the read-and-write at "/" mount point:
adb shell mount -o rw,remount /Then send all the files inside compact1-jre to the "/" mount point at module using adb push:
adb push compact1-jre/* /Finally access your module using adb shell and try java -version
adb shell
java -versionOur minimal version of Java doesnt have the java compiler. So, let's create an Hello World example, compile in our PC and send it to the module.
Open another terminal and create the hello.java file using any text editor. You can use this example below inside the file:
// Your First Program

class HelloWorld {
    public static void main(String[] args) {
        System.out.println("Hello Java!");
    }
}
Then open the terminal and use the javac to compile it. Probaly you should be using an newer version of java as me, so you can use the parameters source and target to compile it using the version 1.8 (means Java 8) to guarantee the compatibility with the module:
javac -source 1.8 -target 1.8 hello.javaThe compilation will generate a file called HelloWorld.class. You can test in your PC:
java HelloWorldNow, send the compiled application to the module using adb:
adb push HelloWorld.class /home/Then open again the adb shell and test your application in the module:
adb shell
cd home/
java HelloWorld
Congratulations! You have made your first Java application running in a Fibocom module!


Comments
Please log in or sign up to comment.