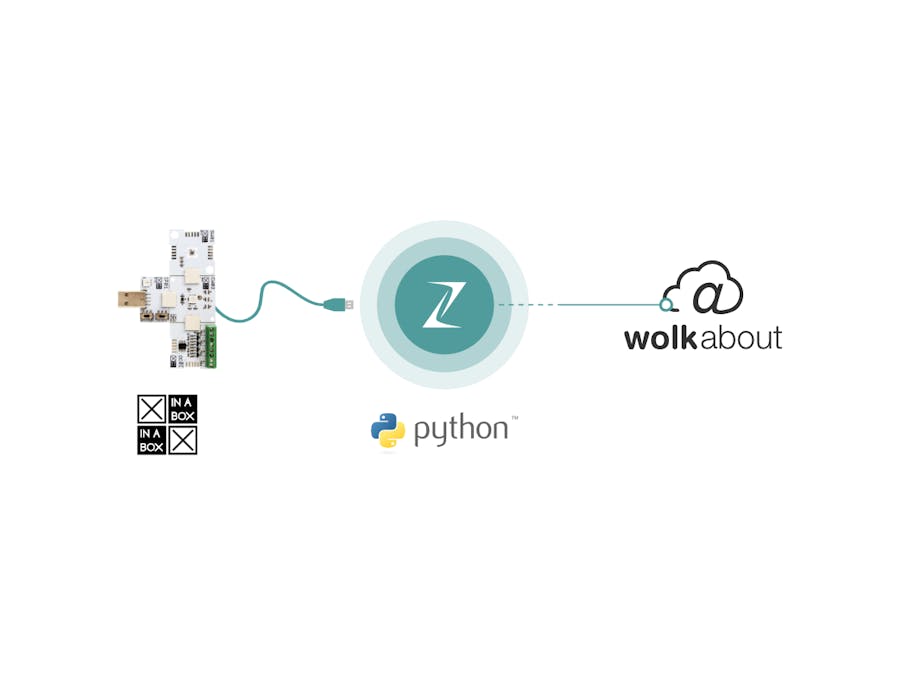
XinaBox’s modular and easy-to-code hardware allows users to assemble an electronic circuit in minutes, without soldering, wiring or hardware knowledge. By integrating their versatile development boards with WolkAbout IoT Platform, boards are enhanced with the Cloud functionalities and users are provided with everything they need to build a connected product. Hence, IoT prototyping is made much simpler, cheaper and faster.
This tutorial explains how to interact with WolkAbout IoT Platform using XinaBox electronics with the onboard Zerynth license.
Hardware SetupConnect the xChips according to the photograph in Fig. 1, making sure that the xChip name and XinaBox logo are all visible from the same side.
Ensure that the switches on the IP01 xChip are in position “B” and “DCE”.
If you are already familiar with Zerynth, virtualise your device and jump to Connecting the Device section.
For those of you who are using Zerynth for the first time, follow these steps:
- Download and install the Zerynth Studio using the Installation Guide for additional assistance
- Continue with the Getting Started guide paying close attention to the Connect, Register and Virtualise your Device section
- Once your device is properly virtualized in Zerynth Studio as a XinaBox CW02 (ESP32) board, you can continue to the next step
In Zerynth Studio, in the navigation menu on the left side:
- Select the Examples tab
- Search for Texas
- Under PCA9536 choose remote control wolkabout weather station
You will be presented with the description of the example, as well as the code:
- Click on the Clone button
Enter the title of the project and description, or leave it at its default value and click on the Create button.
Now that you've had a jump start to your code, you still need to make some changes in main.py module.
- Enter the SSID and password of your WiFi network
- After that, you will be required to enter the device key and password
- To do that, go to WolkAbout IoT Platform and create the device by following the next section.
This section will guide you through the process of importing device manifest, creating a device from that manifest and creating dashboard to display the information received from the device on WolkAbout IoT Platform demo instance.
- Go to WolkAbout IoT Platform demo instance and log into your account
- If you don't have an account, you can register here
- Click on Device Management in the application menu
- Click on Device Type Management tab
You will jump to Device types page which should subsequently contain the list of types you have created on the Platform
- There are two ways in which you can create your template: creating one from scratch or by importing
- Choose Import and navigate to the CW02-SW01-OC01-deviceType.json located in the folder where you created your Zerynth project or copied from the project's attachments
- You can now create a device from the device type that was imported
- Click on the Create device button to do so
- CW02-OC01-SW01 device type will already be selected, so just click on the Next step button
- Proceed by entering the device name, in this example XinaBox CW02
- Tick the Create Default Semantic checkbox to be able to create widgets for this device
- Click on the Save button
You are now presented with the device key and password that are needed for connecting your device to the Platform, so use one of the options to save this information, for example, email.
You have now completed the process of creating a device on WolkAbout IoT Platform.
Let's now proceed with entering these credentials into the code.
- Open your email, or any other option you used to store device credentials
- Copy the device key and password to the code in Zerynth Studio
- Change the Device to XinaBox CW02 (ESP32)
- Click on the Verify button to make sure there are no errors in the module
- If no errors are present, click on the Uplink button and wait for the process of sending bytecode to complete.
Now that your device is ready to connect to WolkAbout IoT Platform, create a dashboard with widgets to display the data received from your XinaBox CW02 device.
- Click on Reports and Visualisation tool in the application menu
- Click on the + button
- Enter the name for your dashboard, for example, XinaBox CW02 Dashboard
- Set the scope to the previously created device
- Click on the Save button
Now, you can start adding widgets to the dashboard.
- Click on the + Add widget button
- Add a Reading widget for Temperature, Humidity and Pressure
- Add an Actuator widget for Switches 1 through 4
The dashboard is now ready to receive information sent from the device and control the state of on-board switches.
If you turn on your device and go to the dashboard, you should be able to see the data WolkAbout IoT Platform is receiving from your XinaBox CW02 device and control the state of switches on OC01.
You can also view your dashboard and control the state of the switches by using mobile app on your Android or iOS device.
That’s it! You are now exchanging data from your Zerynth enabled XinaBox CW02 board and WolkAbout IoT Platform. Enjoy!


_xIl5PcEdnz.png?auto=compress%2Cformat&w=40&h=40&fit=fillmax&bg=fff&dpr=2)
Comments
Please log in or sign up to comment.