


Hardware components | ||||||
 |
| × | 1 | |||
 |
| × | 1 | |||
 |
| × | 1 | |||
Software apps and online services | ||||||
 |
| |||||
Hello everybody,
Here's a tutorial on how to control the XinaBox OC03 relay module with Zerynth Studio.
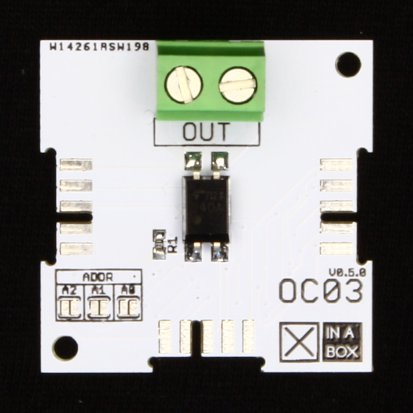
Technical detailsThe OC03 is a low-voltage control relay module able to switch AC and DC loads. The optically isolated relay is controlled by a PCA9554A IO expander, which provides a control interface to the switch. The PCA9554A has several selectable I2C addresses accessible via solder pads.
The TLP241A photo-relay consist of a photo MOSFET optically coupled to an infrared light emitting diode which switches an AC or DC load. It provides an isolation voltage of 5000 Vrms, making it suitable for applications that require reinforced circuit insulation, as you can see in the documentation.
PCA9554A- 400-kHz Fast I2C Bus
- Three Hardware Address Pins Allow up to Eight I2C Addresses
- Internal Power-On Reset
- No Glitch on Power Up
- Latched Outputs With High-Current Drive
- Normally Open
- OFF-state output terminal voltage: 40 V (min)
- Trigger LED current: 3 mA (max)
- ON-state current: 2 A (max)
- ON-state resistance:
- 100 mΩ (max, t < 1 s)
- 150 mΩ (max, Continuous)
- Isolation voltage: 5000 Vrms (min)
- Assemble the CW02 xChip, based on ESP32 by Espressif Systems, with the IP01 module (USB Programming Interface) and with OC03. More info here.
- Connect on a USB port of your laptop, where you’ve installed Zerynth Studio.
- Select the XinaBox CW02 on the Device Management Toolbar.
- Register the device by clicking the “Z” button from the Zerynth Studio. In this phase, you should redeem your coupon, as mentioned before.
- Create a Zerynth Virtual Machine for the device by clicking the “Z” button for the second time
- Virtualize the device by clicking the “Z” button for the third time.
You can start with our code examples, that you can “clone” in just a few seconds. Follow this link to find more information about code examples for the OC03.
The one featured here is a simple example to toggle the relay on OC03 and return the relay state.
Take a look at the code:
import streams
from xinabox.oc03 import oc03
streams.serial()

# instantiate OC03 class
OC03 = oc03.OC03(I2C0)

# begin i2c bus
OC03.start()

# start OC03
OC03.init()

# sleep time
DELAY = 500

# infinite loop
while True:

# close relay
OC03.writePin(True)
print(OC03.getStatus()) # return state of relay to console
sleep(DELAY)

# open relay
OC03.writePin(False)
print(OC03.getStatus()) # return state of relay to console
sleep(DELAY)
Now all you are left to do is to verify and uplink the script into the device. First, click on the Verify icon (the button on the upper left toolbar), and your script will be checked for errors. If there are any, they will be neatly reported in the console and in the code editor.
To Uplink your verified project into a Virtualized device just click the Uplink icon and follow the Zerynth Studio messages.
Download Zerynth StudioAll you are left to do now is download Zerynth Studio and start your own project. Don’t forget that it’s free and available for Windows, Linux, and Mac OS.


Comments